
How to Install a Wood Fireplace
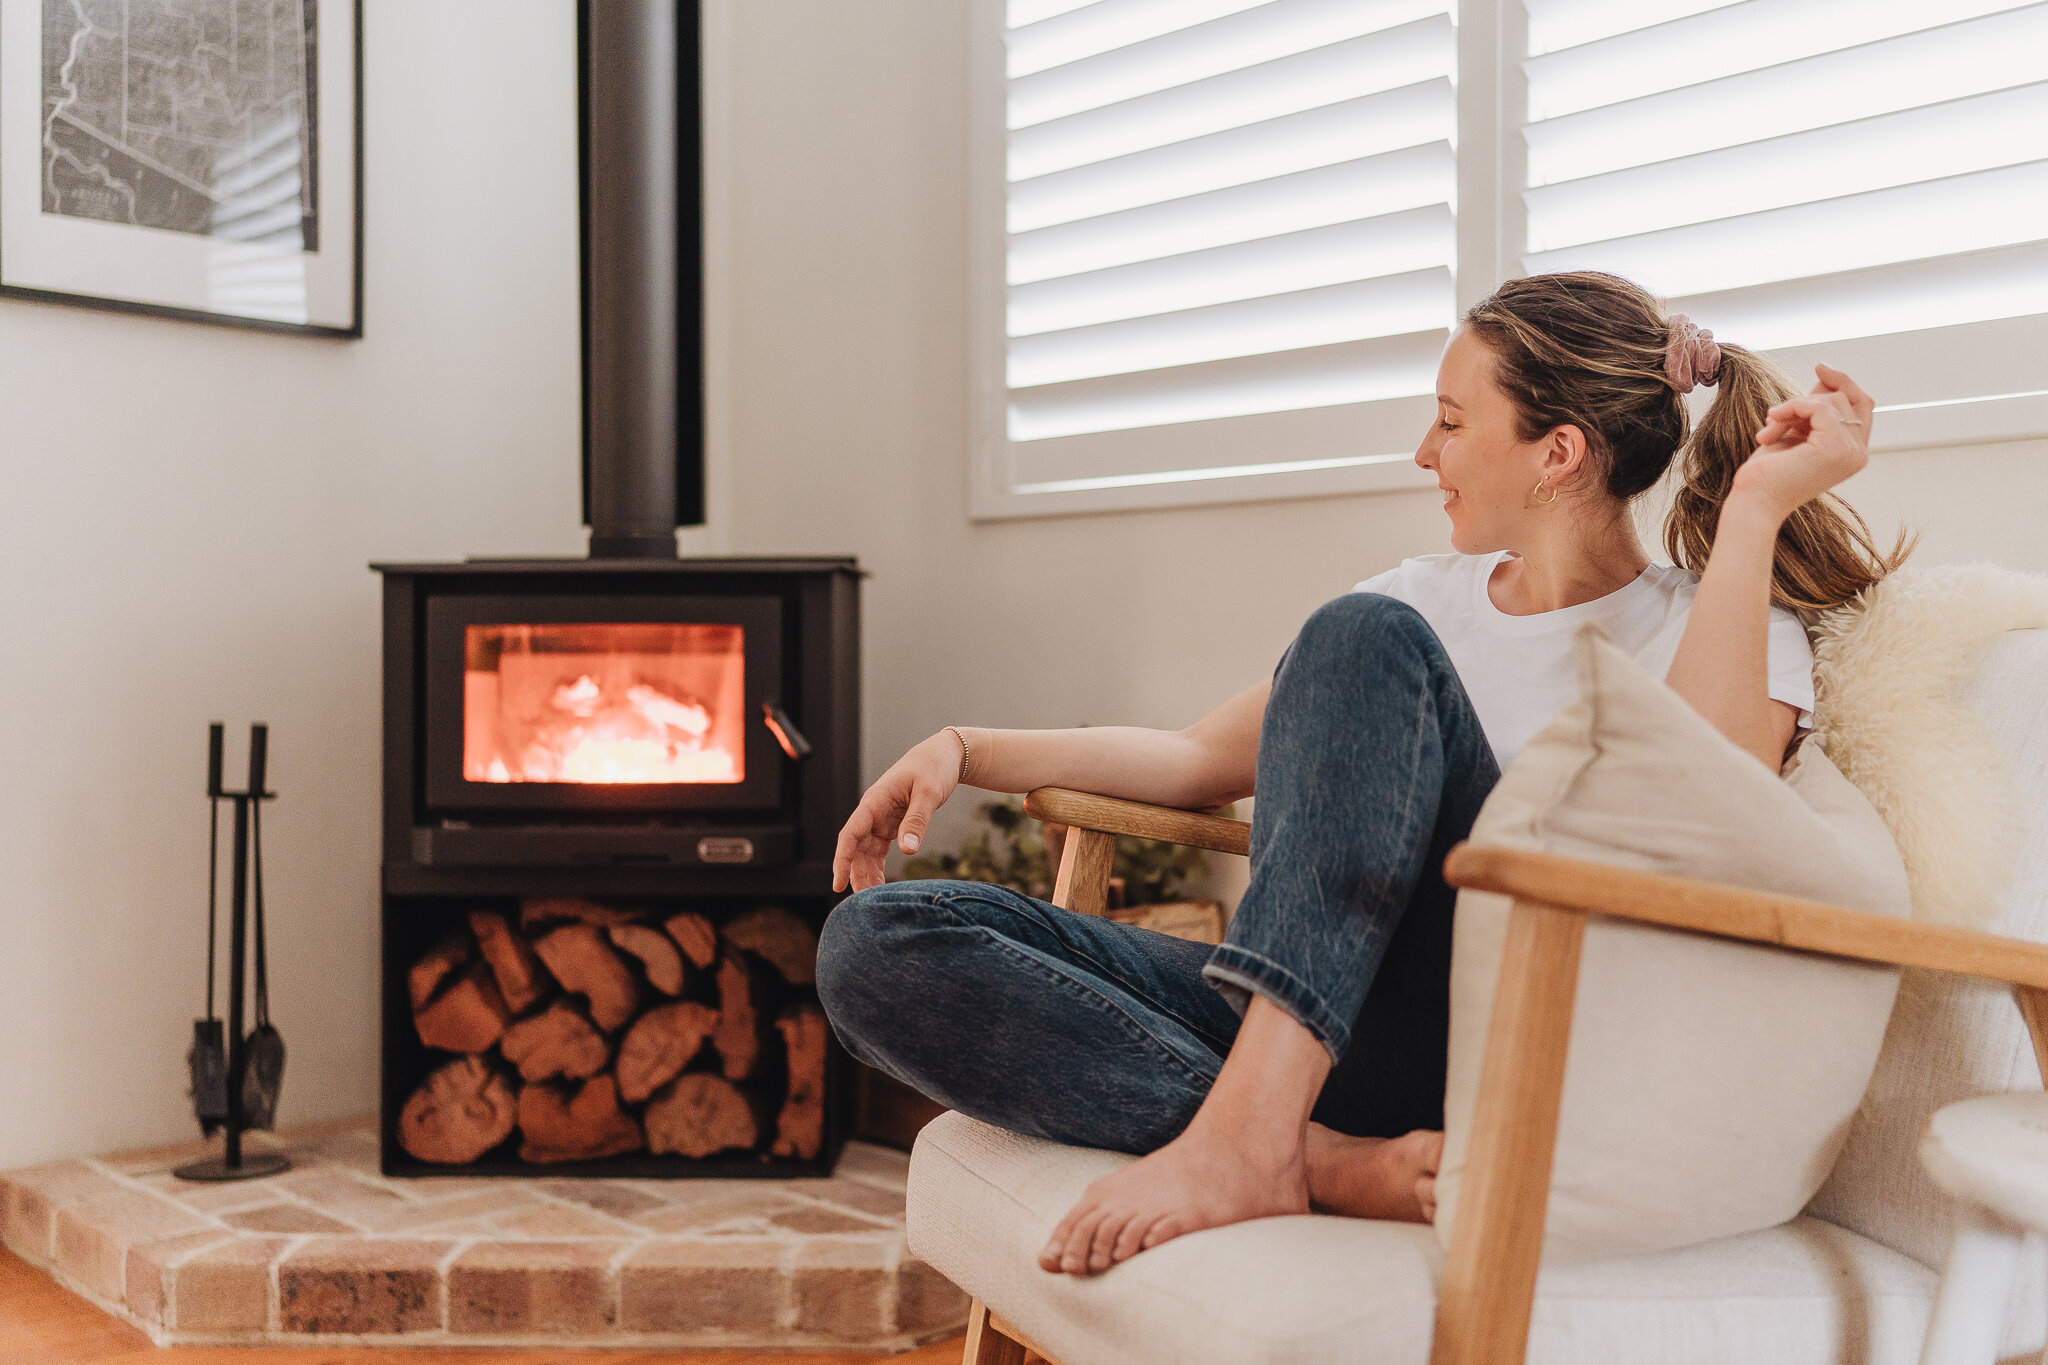
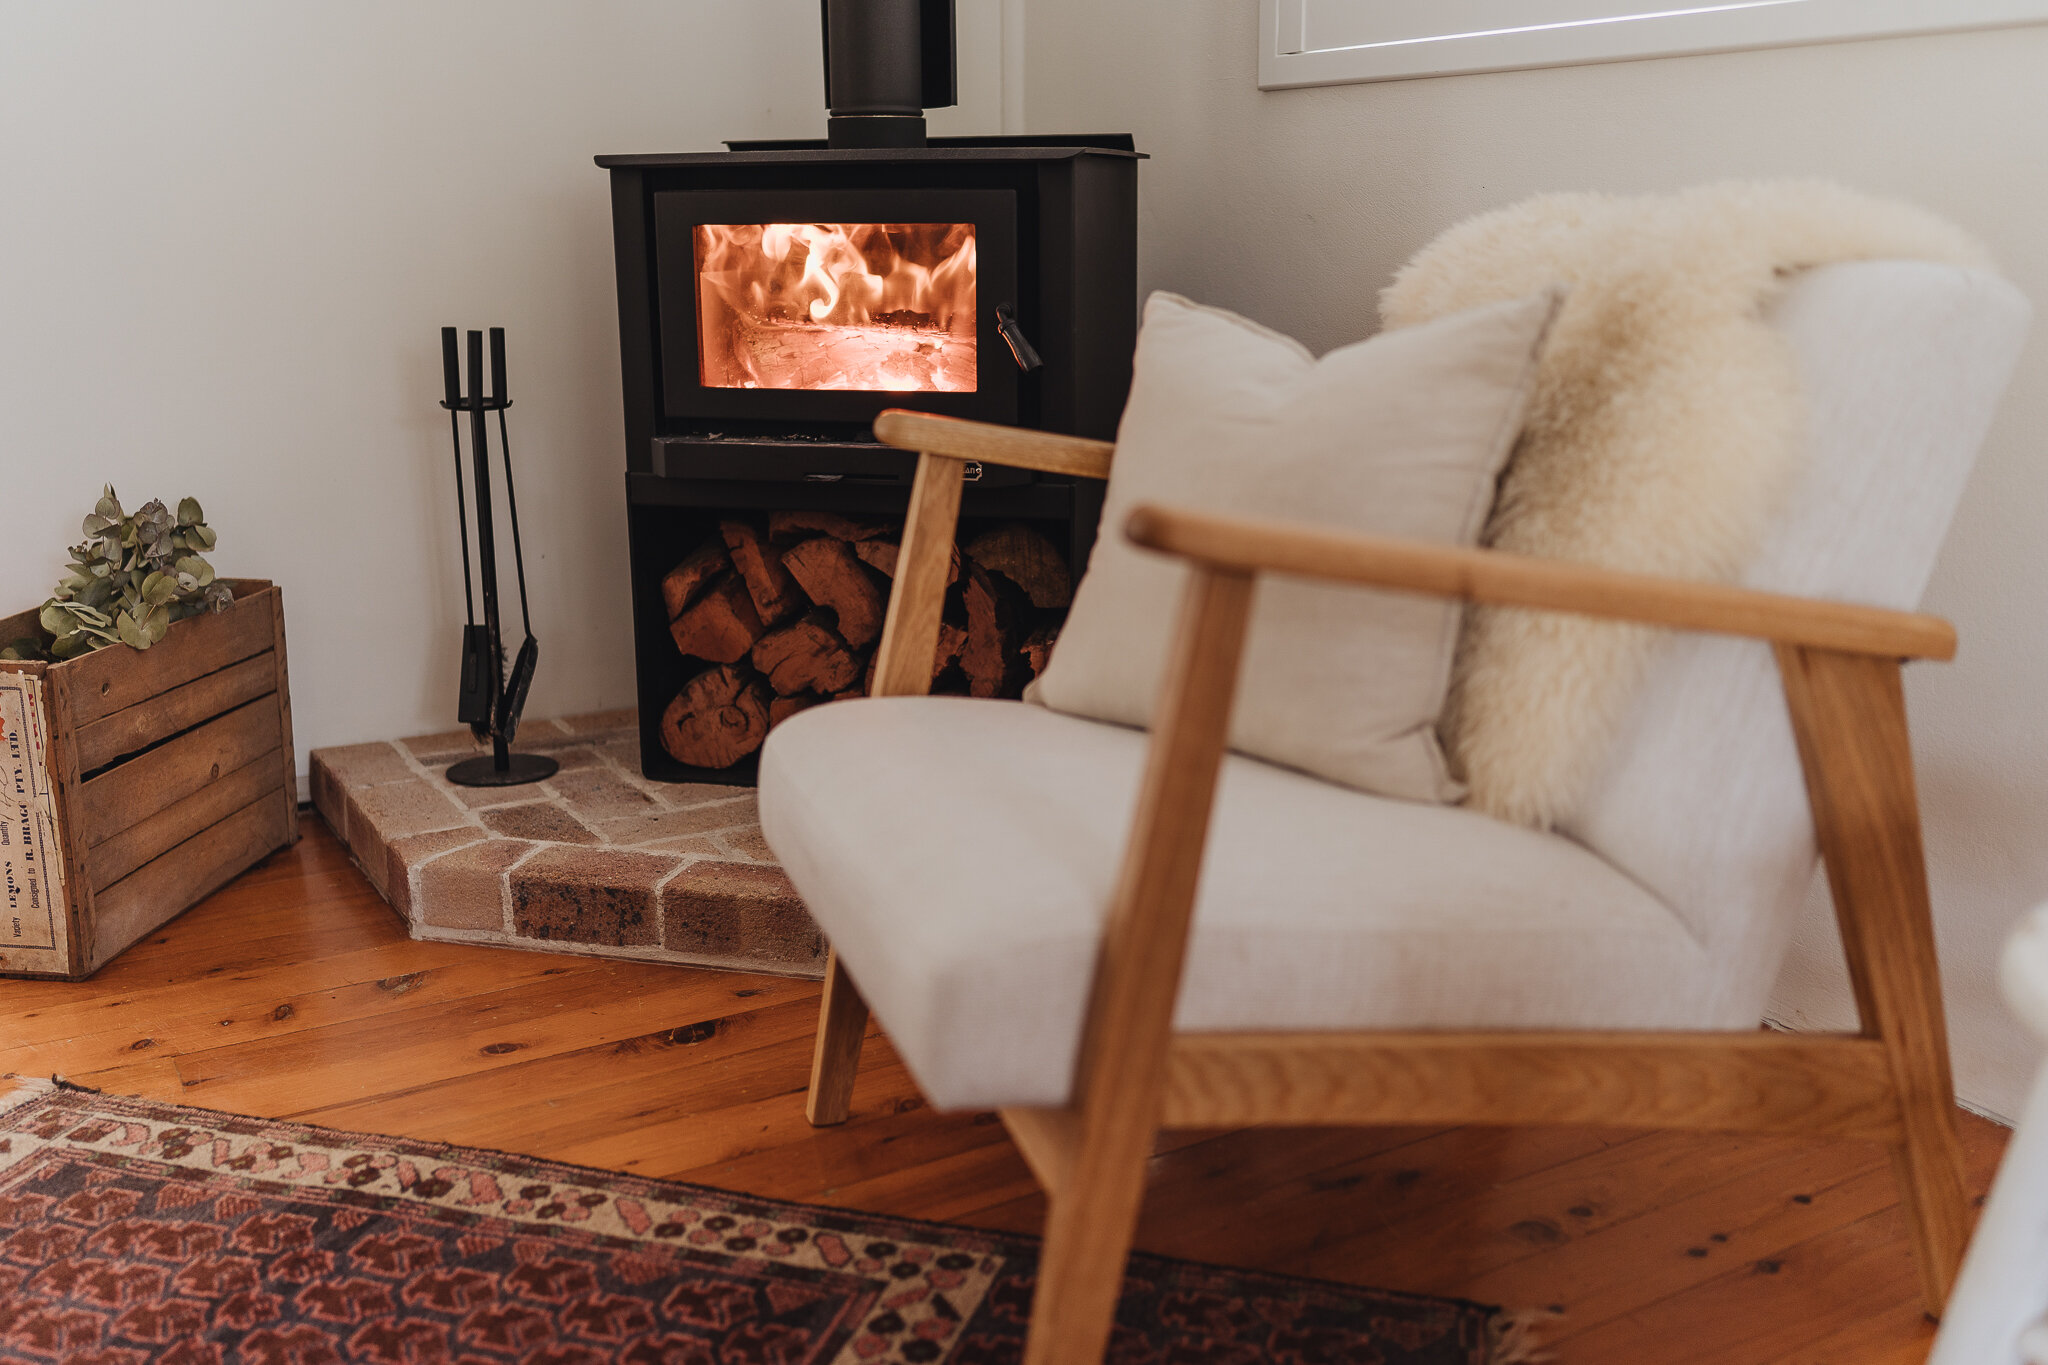
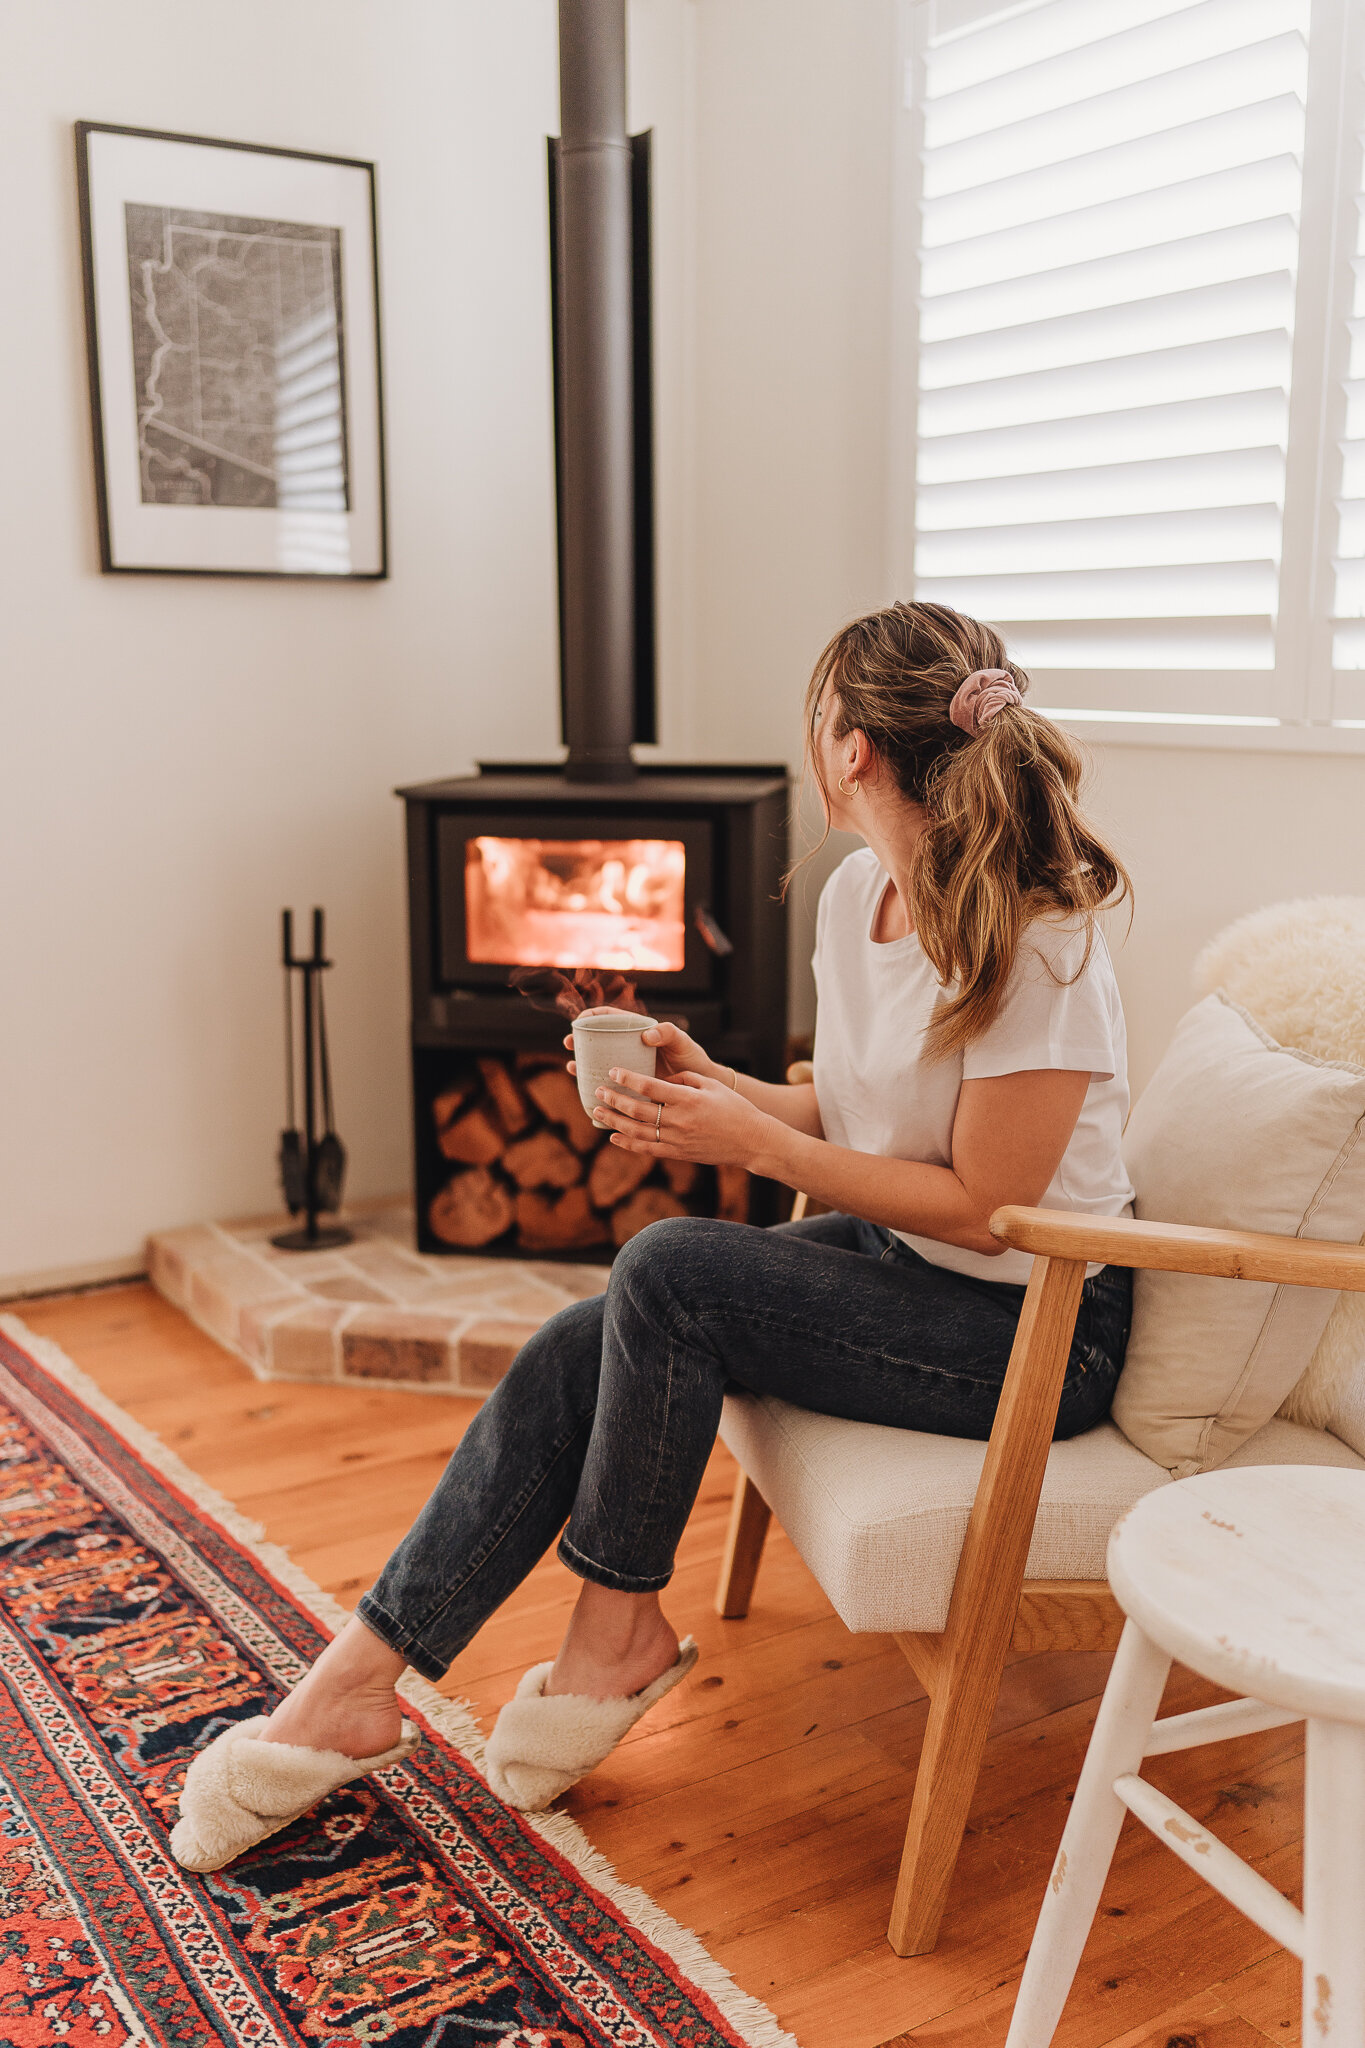
This wood fireplace installation has been in the works for a good couple of years and I’m so happy to say that it is finally finished! I’ve never owned something material that has brought me this much ongoing joy. There’s something therapeutic about a fireplace, not just its mesmerising glow, but the act of crafting it into existence, the ritual of collecting wood and the way it draws people together, it’s definitely turned our little house into more of a home.

I love sharing our home adventures mainly because of the sheer amount of research/reading I do prior to undertaking a project and therefore appreciating the value in blog posts such as this. I also love using this blog as a time capsule to look back and read years from now PLUS it’s a great excuse for a photoshoot using my new camera, Sony a7iii - more details about that over on Instagram!

These last school holidays (July 2021), we had planned for a 2-week road trip to Tasmania, however, with another Sydney COVID outbreak, we found ourselves in lockdown yet again! With spare time and cash up our sleeves, we decided to jump in and finally get a fireplace installed!
In hindsight, organising a fireplace in the middle of winter wasn’t the brightest idea given the high demand, however, as we didn’t have much else going on, we were happy to wait around for tradies and installers.
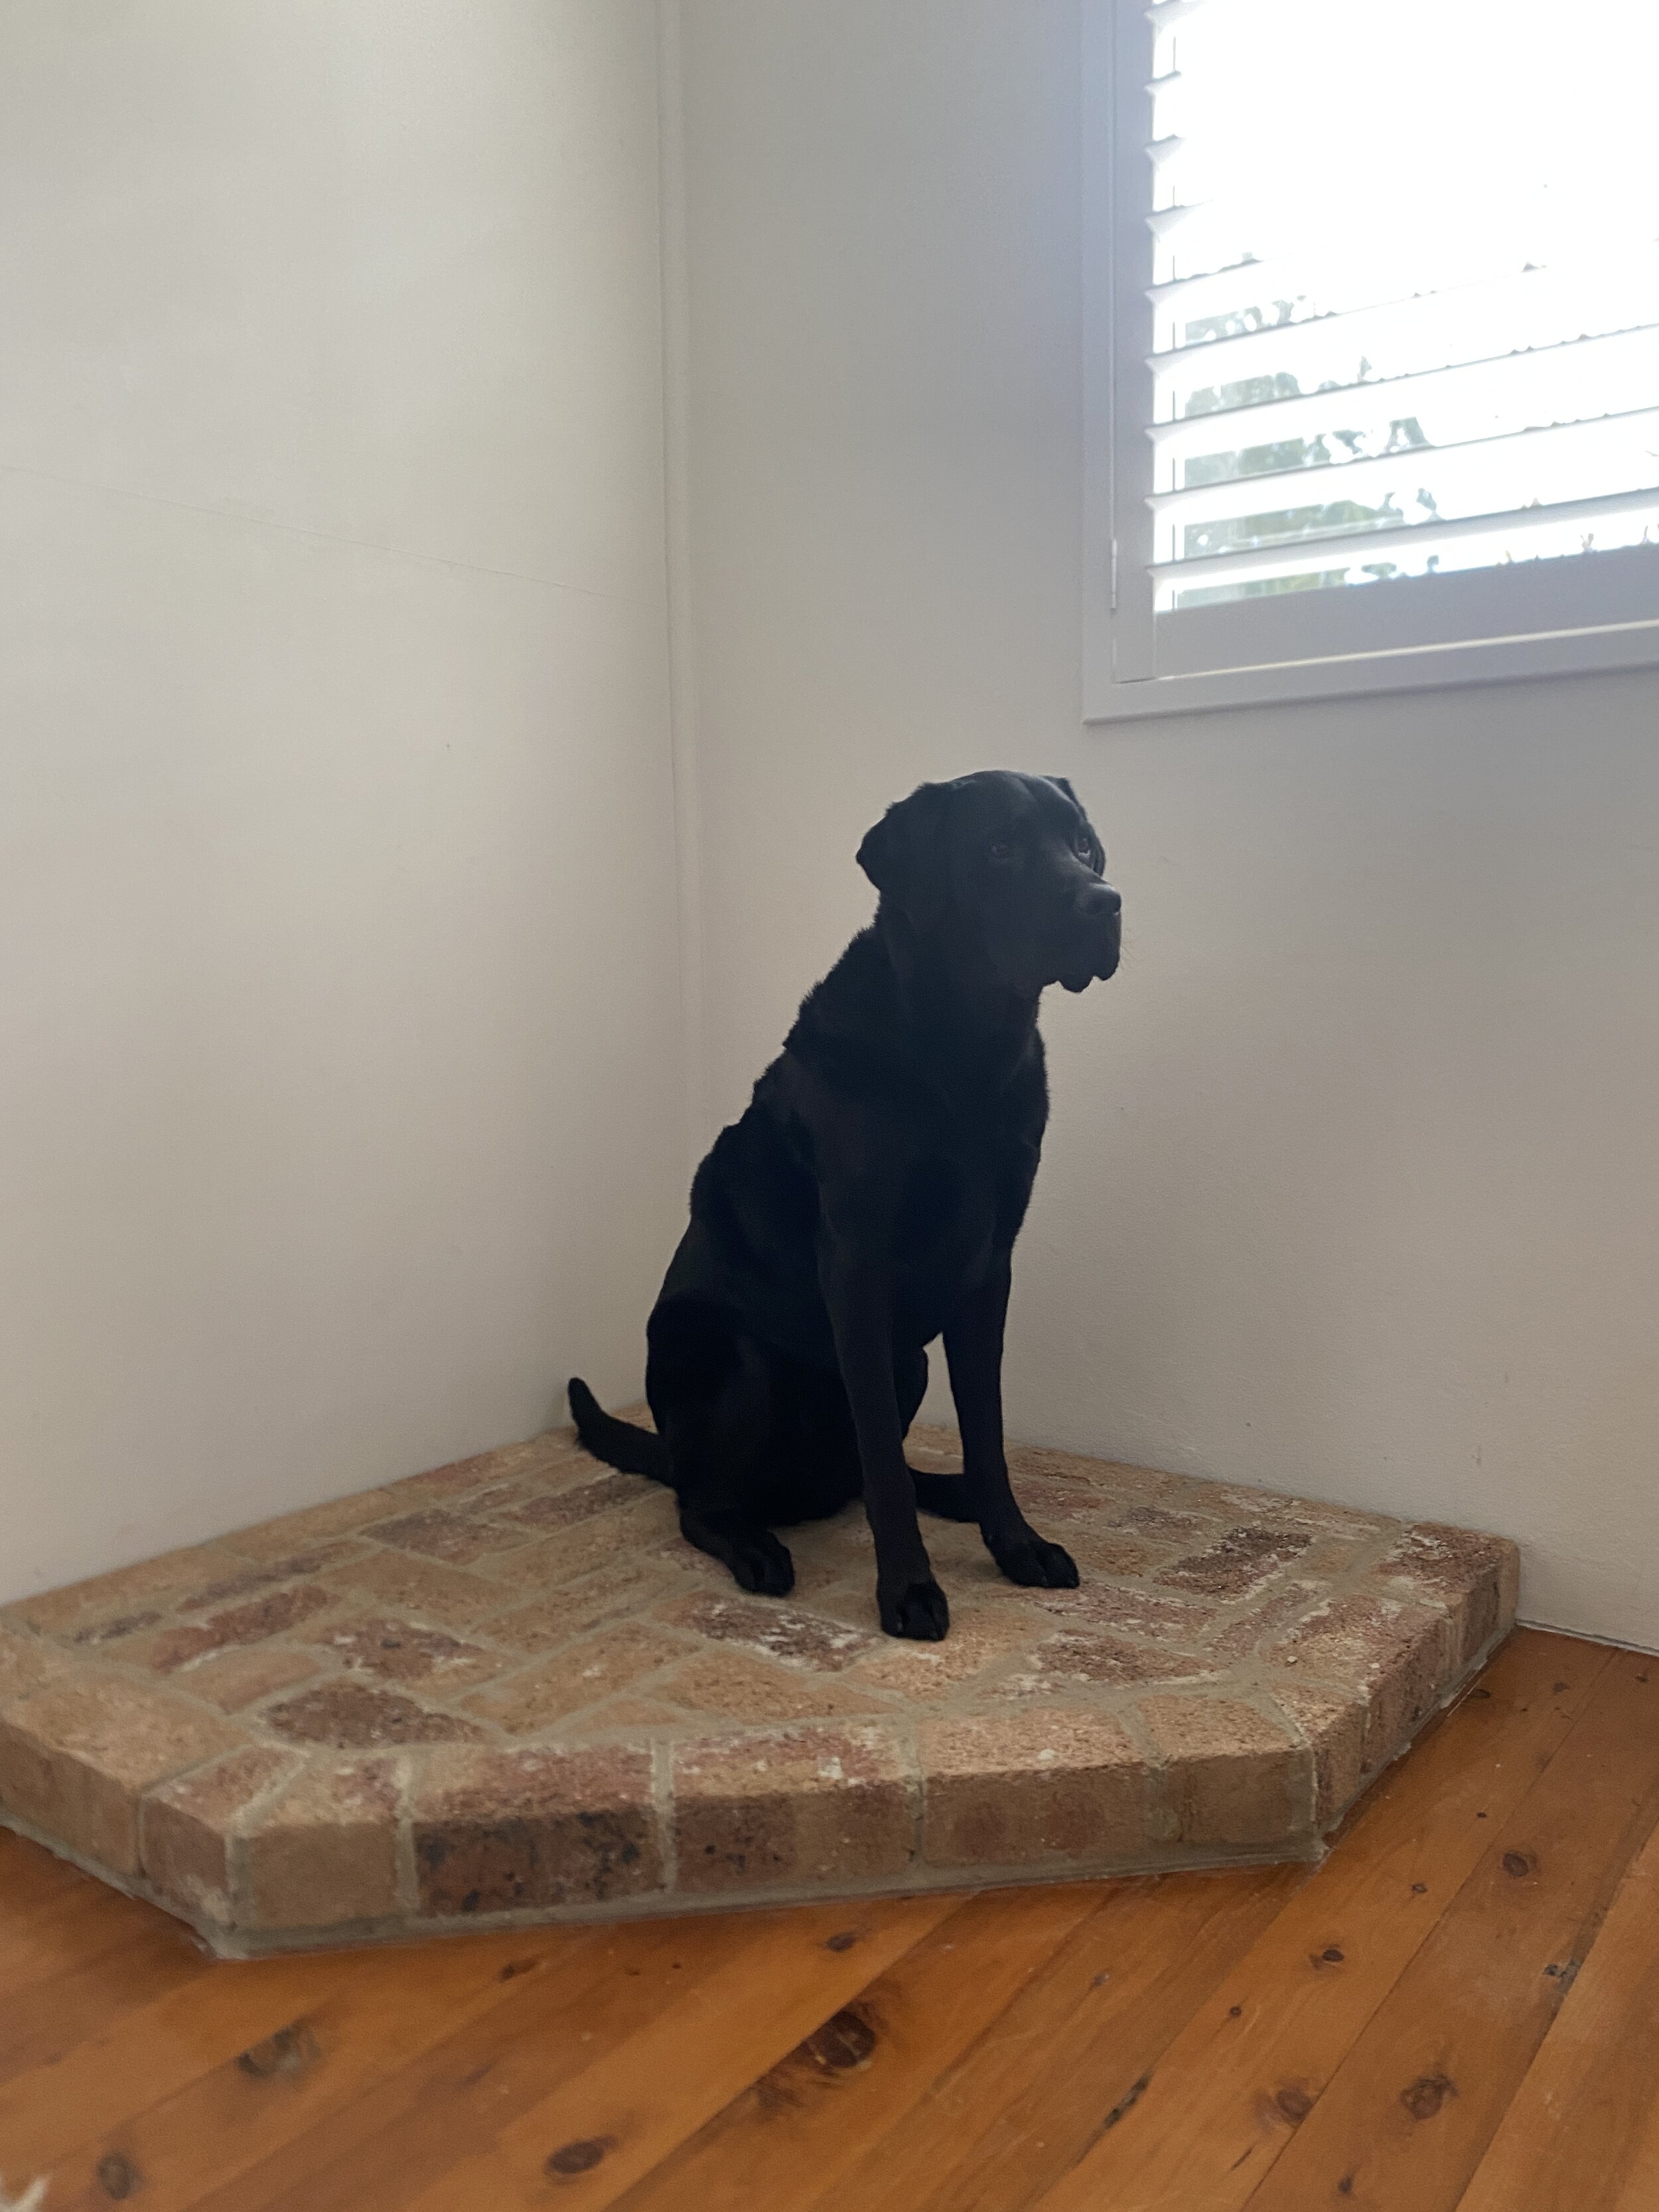
We had been looking at fireplaces for a few years. Our loungeroom had a bit of a dead corner that was begging to be filled and each winter I kept my eye out for different designs and styles. Bunnings (an Australian hardware store) started stocking Masport fireplaces and I had my eye on a stacker woodfire (stacker meaning the wood can be stacked underneath) priced at $1,699.
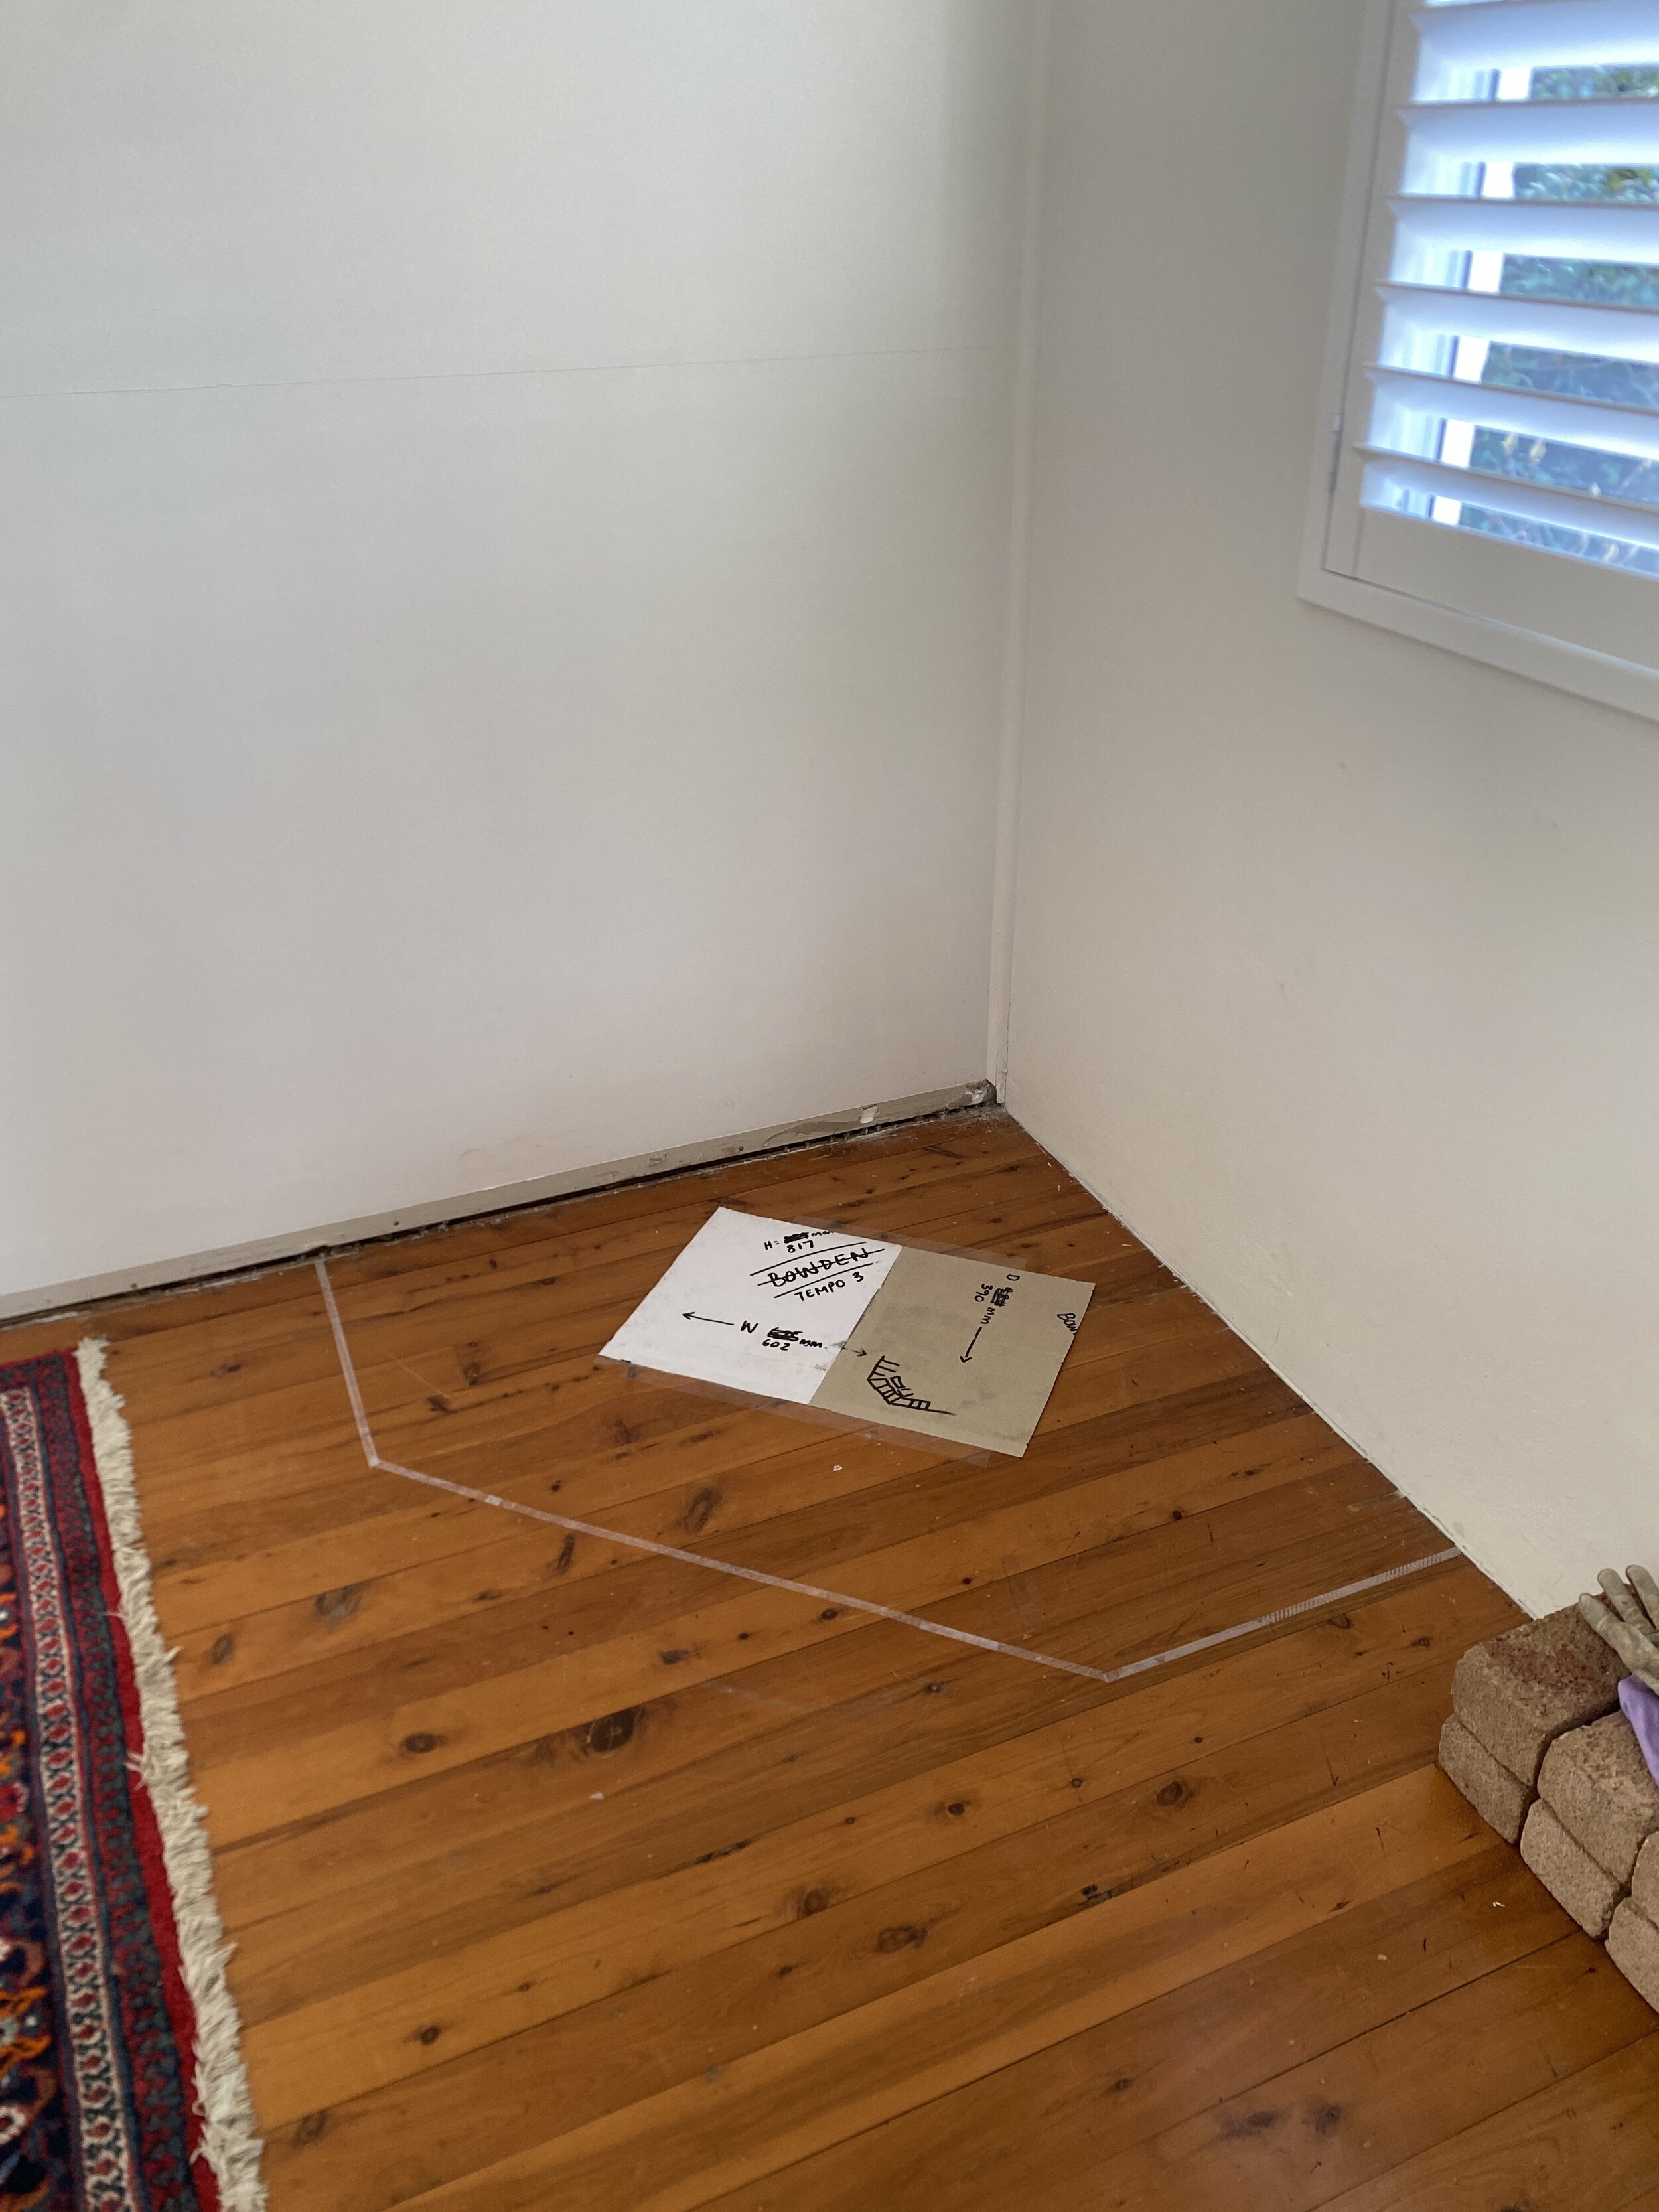
Before we purchased, we spent hours (and I mean HOURS) mapping out the clearances and marking out the floor plan to get an idea of how big the hearth would be and how far it would merge into our living space (see pics below). Finding a fireplace with minimal clearances was key as we didn’t want to have to install bricks/tiles up the back wall to heat protect our house.
Jack and I went to Bunnings one night to ‘pick up’ our fireplace, thinking we could just throw it in the boot, only to realise it really wasn’t that simple and that each fireplace weighs up to 200kg! Needless to say, we had to come back with some friends and a ute to load the thing up and then of course unload it on the other end! We took out the fire bricks and removed the door which only made the unit marginally lighter, however, Jack and the team did manage to get it inside.
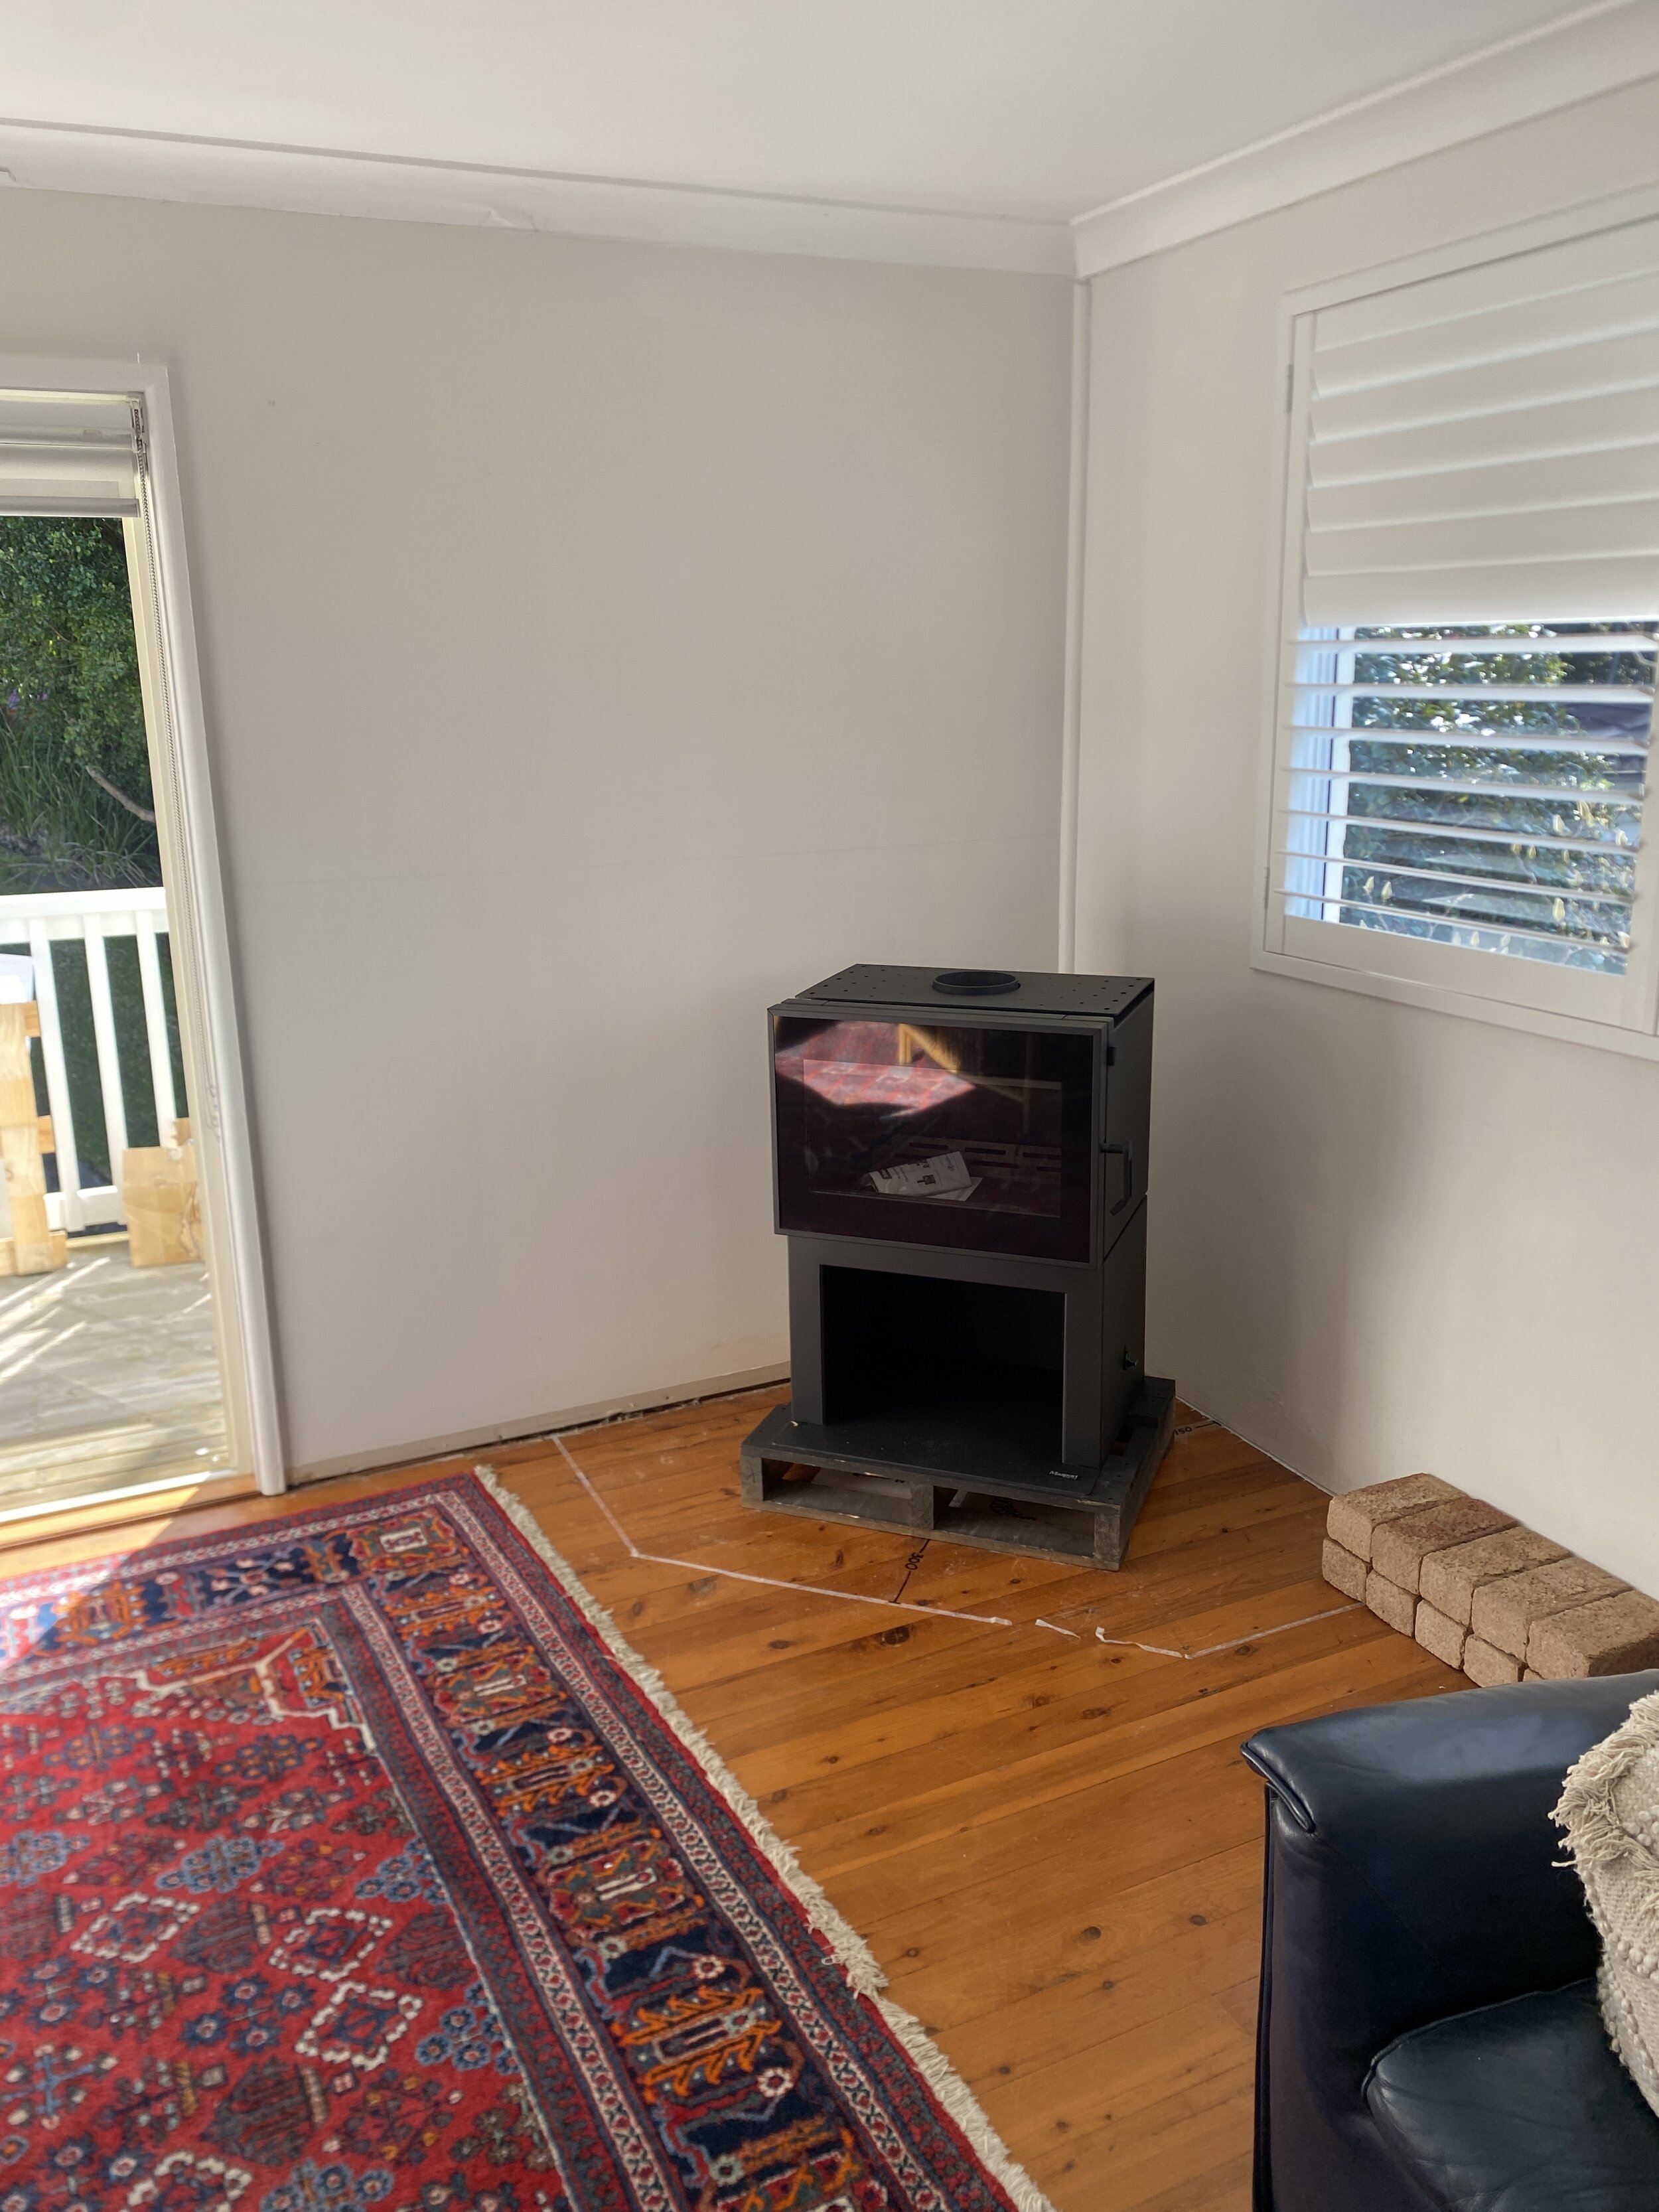
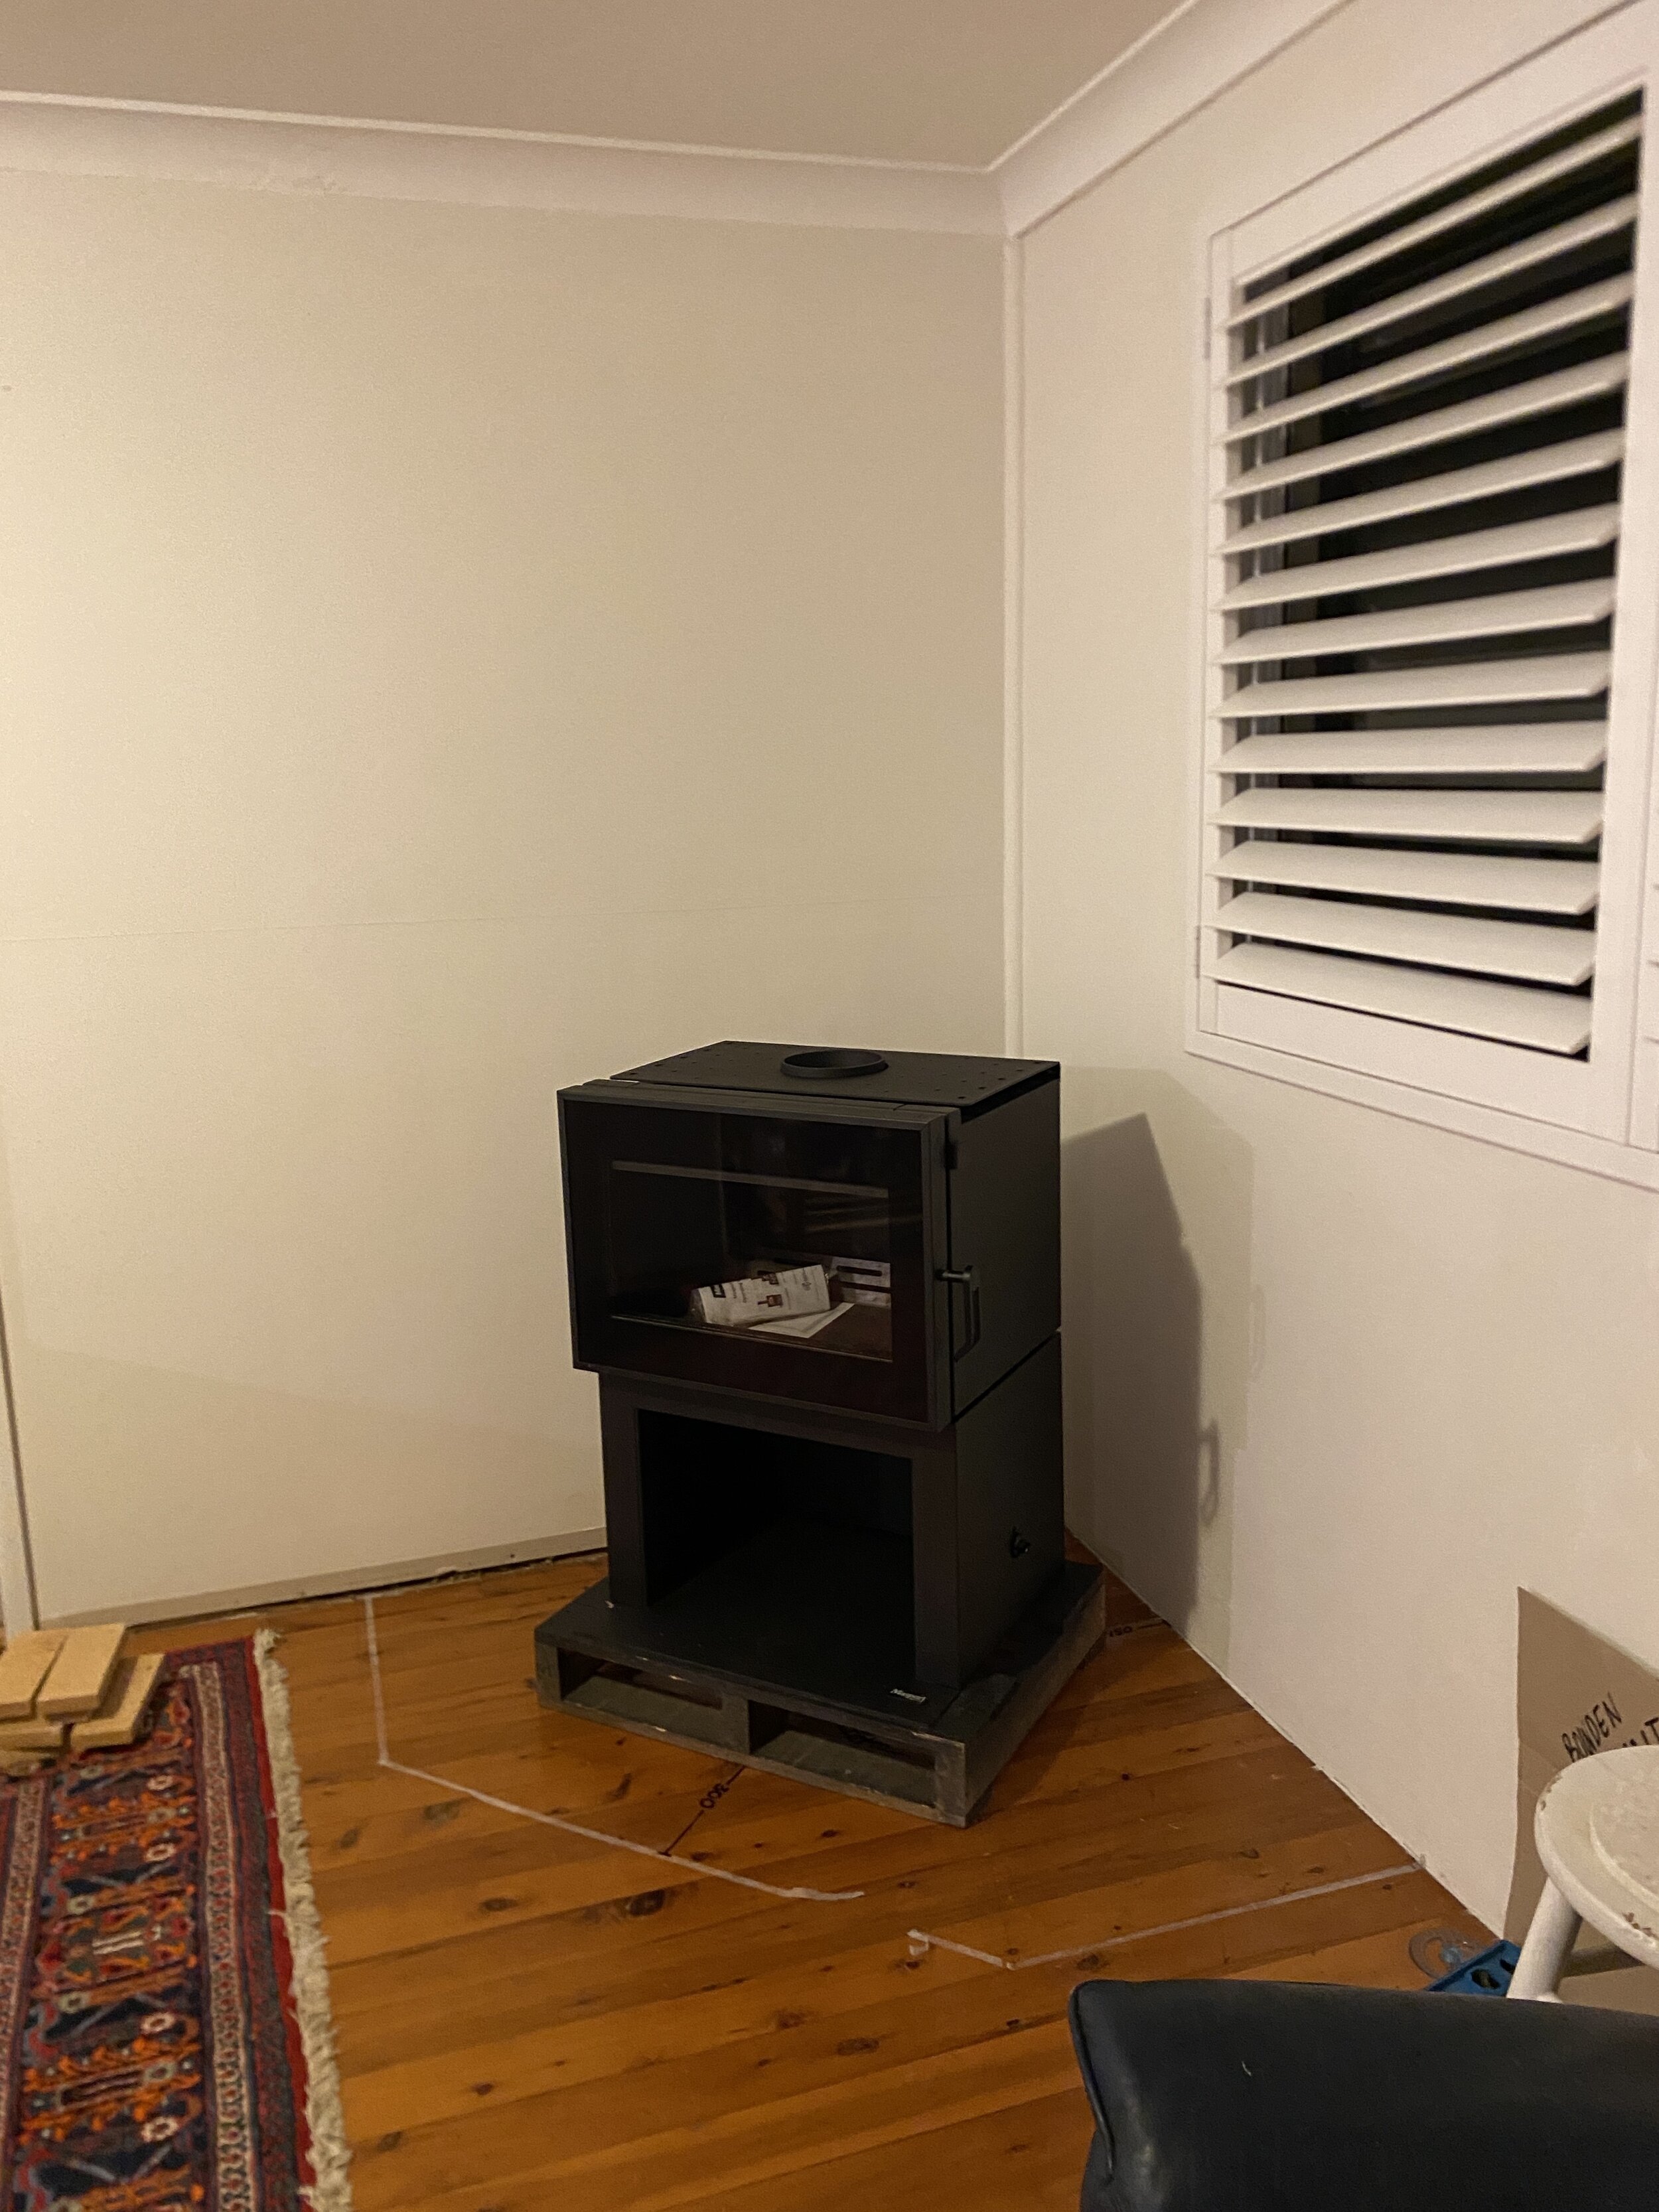
We excitedly placed the new fireplace in the corner spot to get used to what it was going to look like. Even though we had meticulously measured out the space on the floor, it still didn’t provide us with a clear indication of how large the fireplace would be. As soon as I saw it in our space I wasn’t sure about the size of it in our house with low ceilings, it felt slightly out of place but I told myself it was probably just because I wasn’t used to it and it would grow on me.
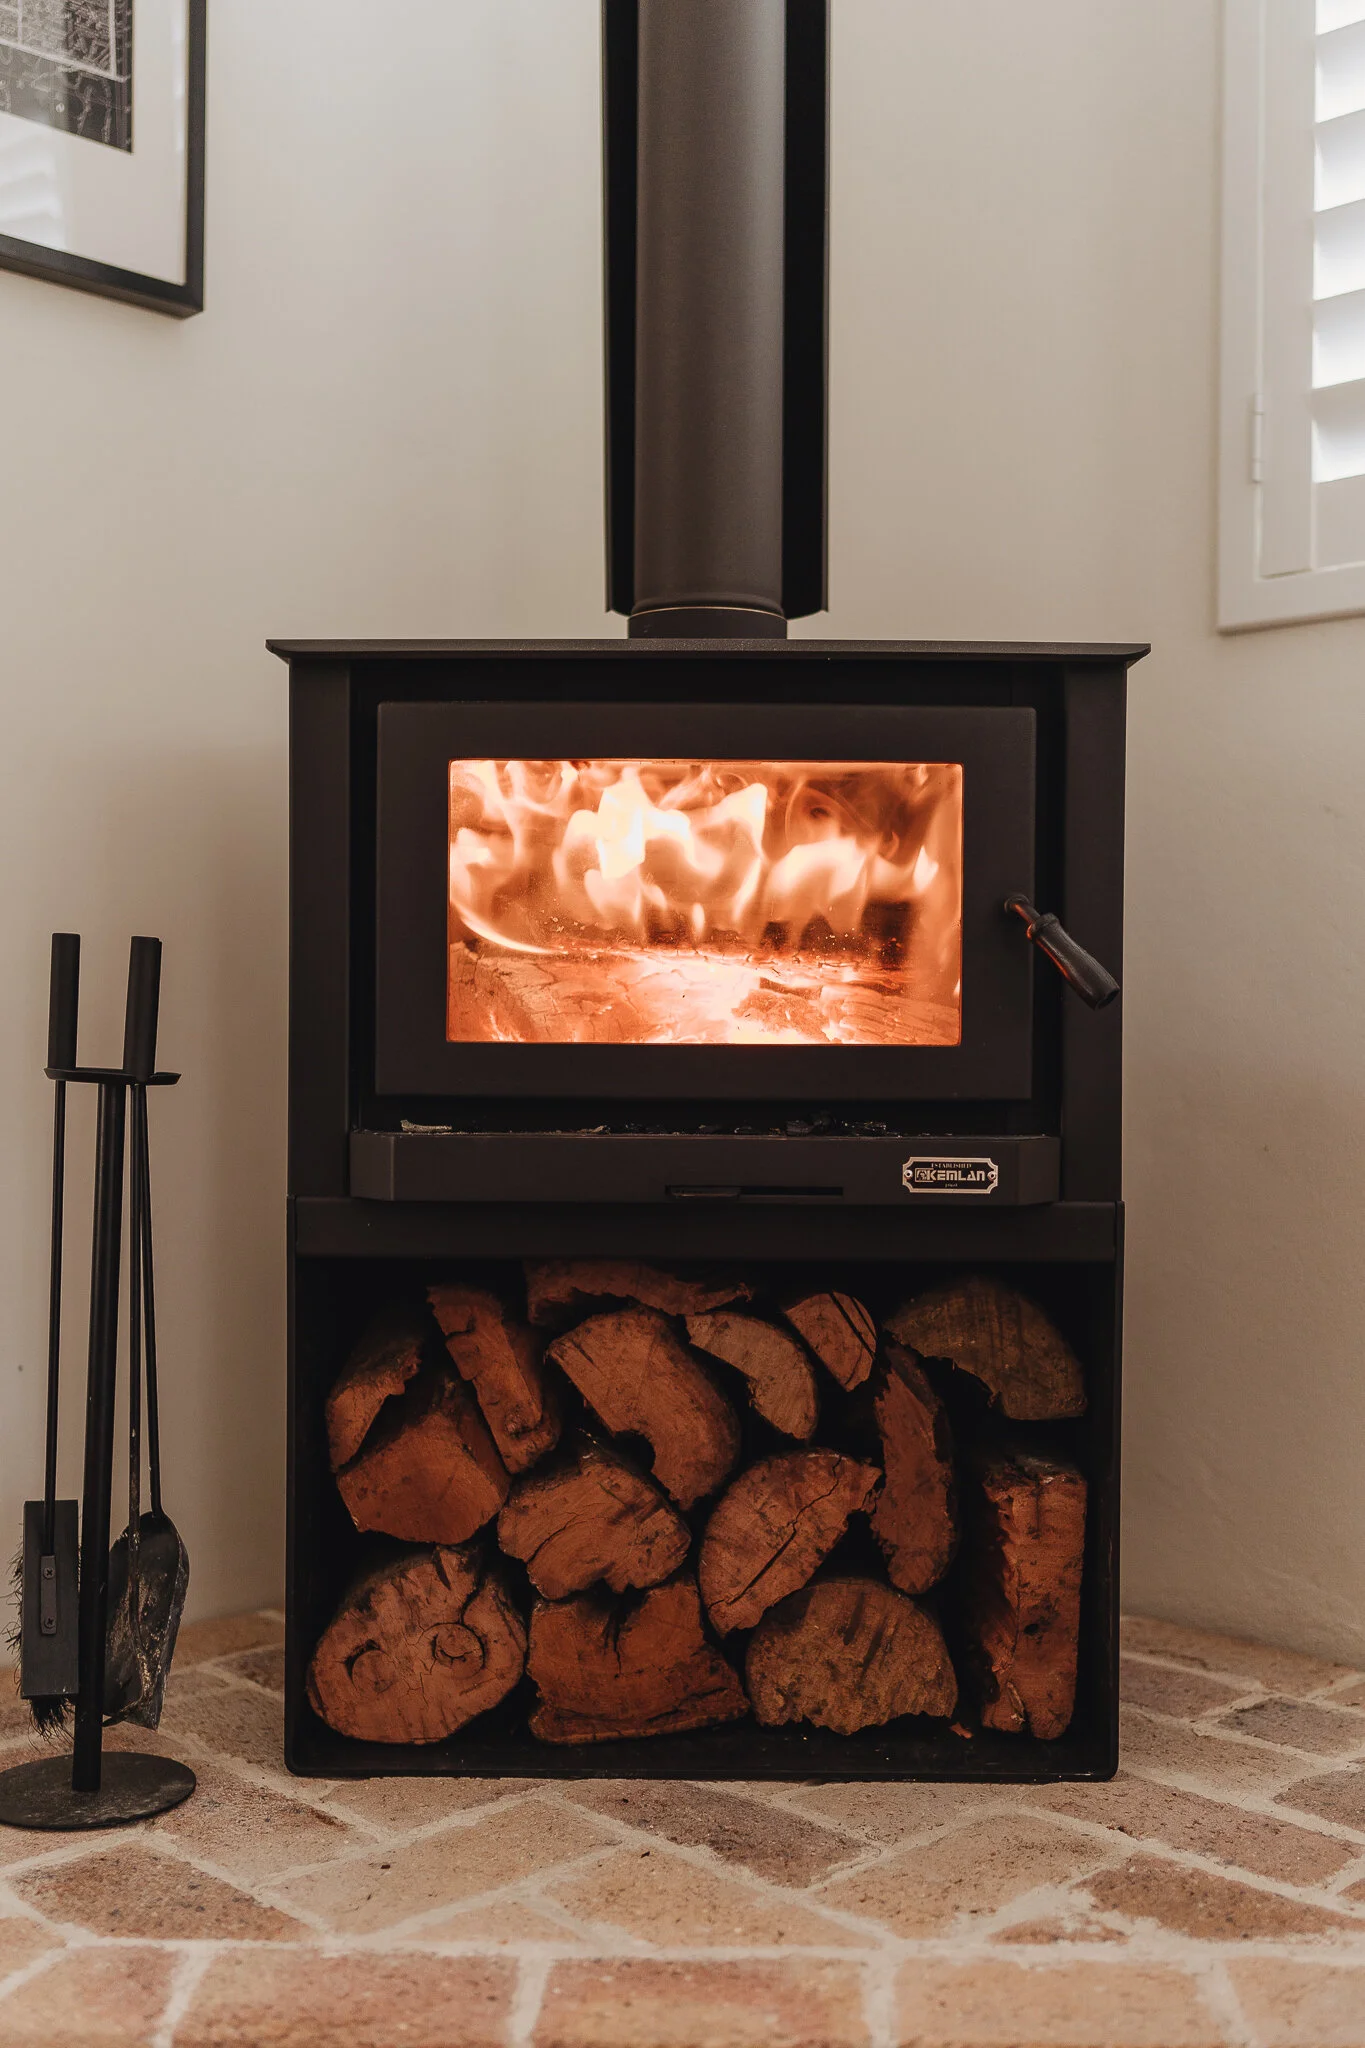
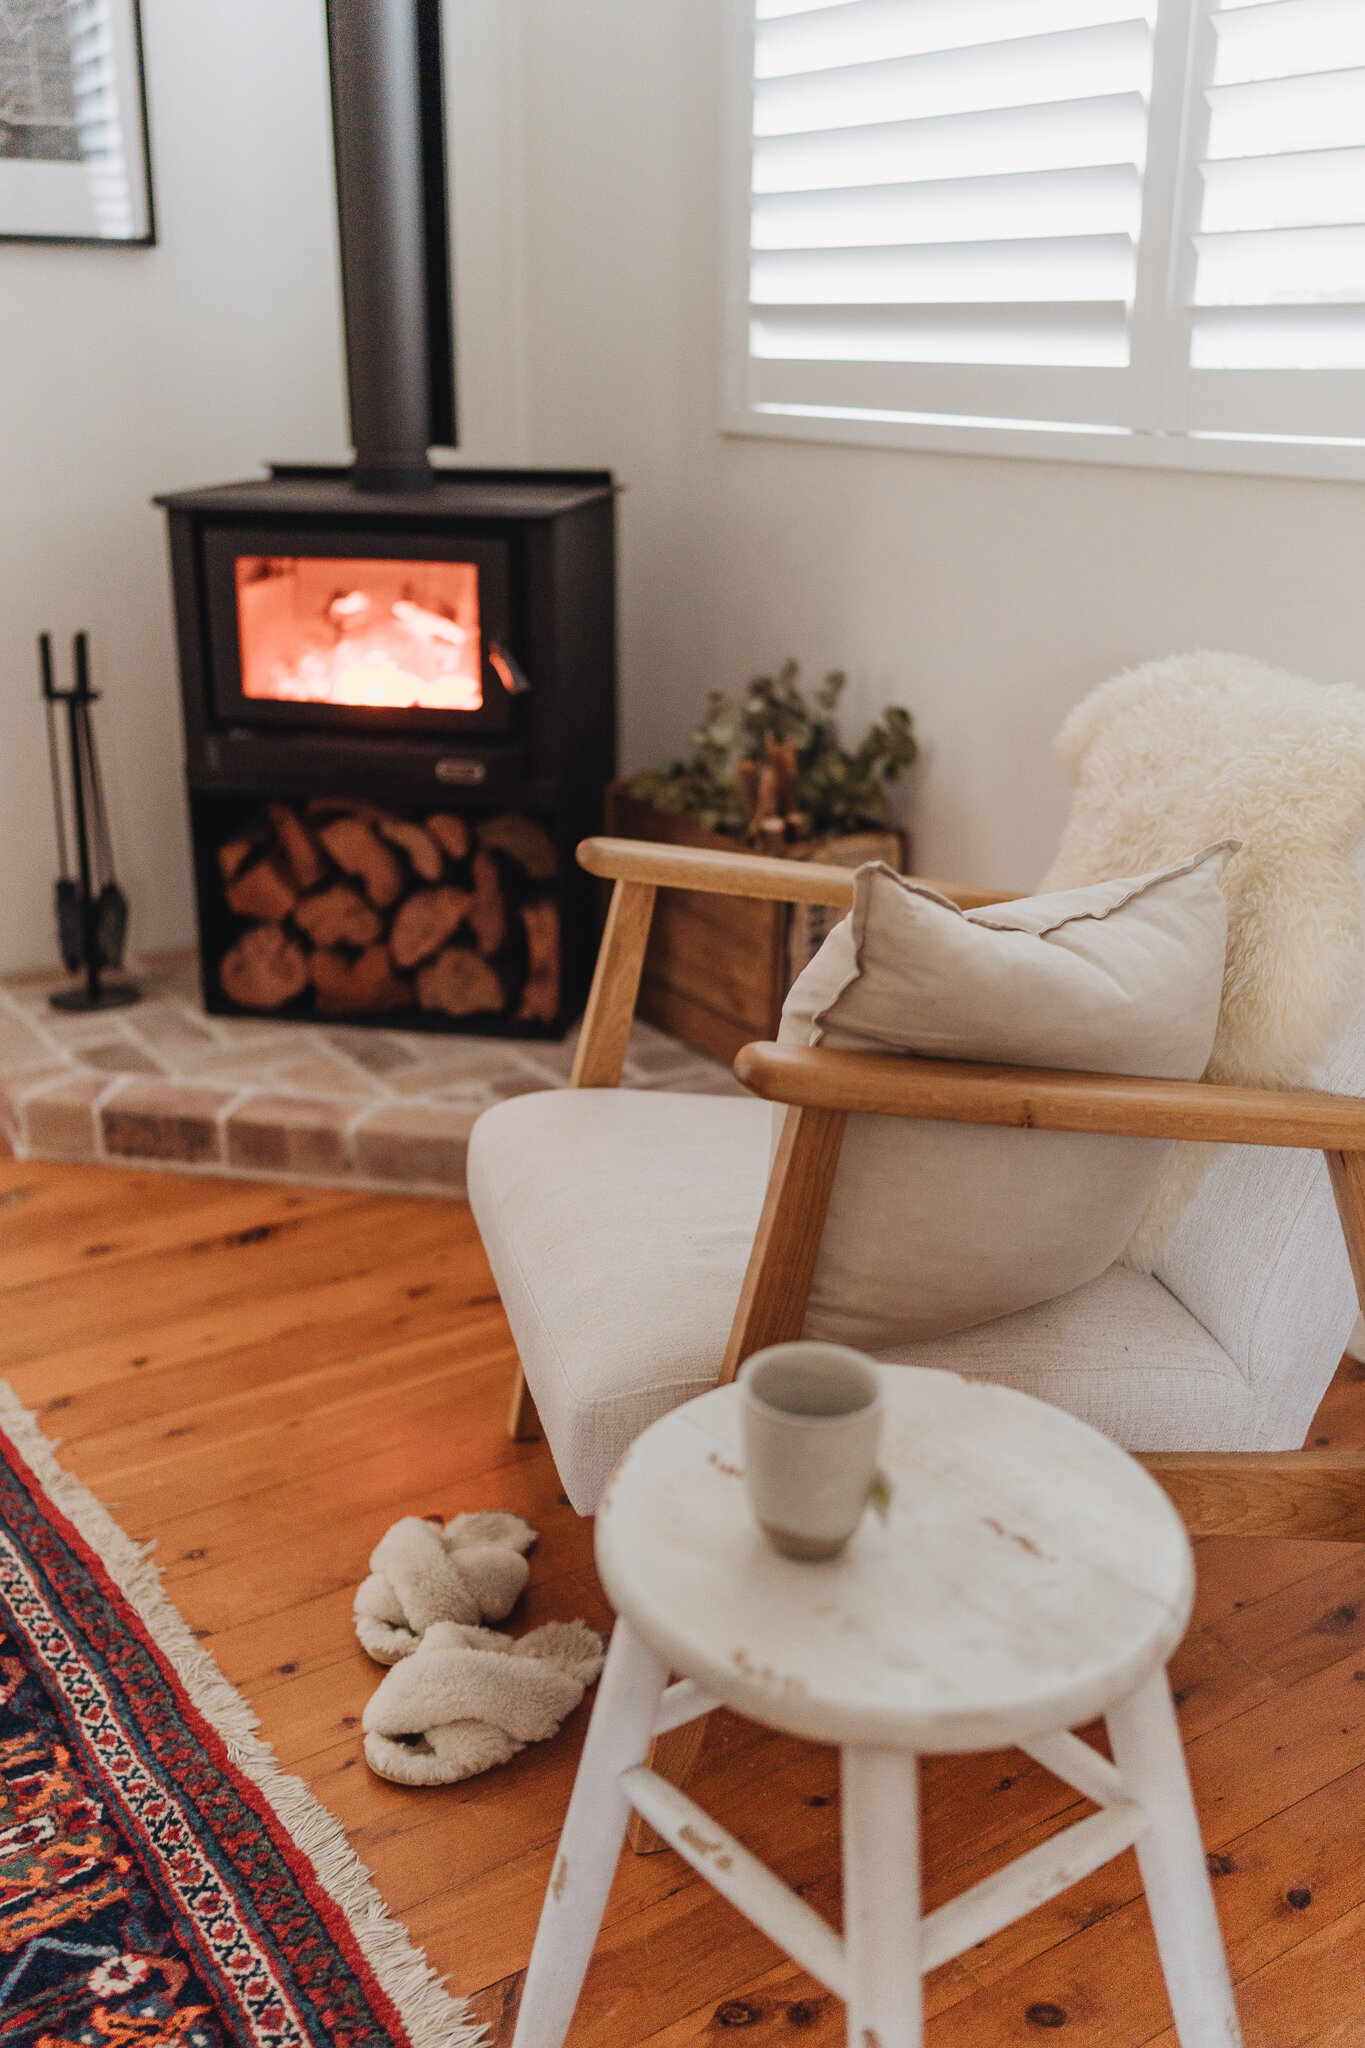
Next came the decision on the hearth. There are so many choices out there from tiles, stone and brick. We wanted a bit of a rustic look so we chose sandstock bricks with a border and a Herringbone pattern. Our local tradies couldn’t believe that we wanted to use brick quoting, ‘we’re normally ripping these things out, not putting them in!’ LOL! But we really wanted that look so we paid a bit extra to get it and we’re really happy with the finished product.
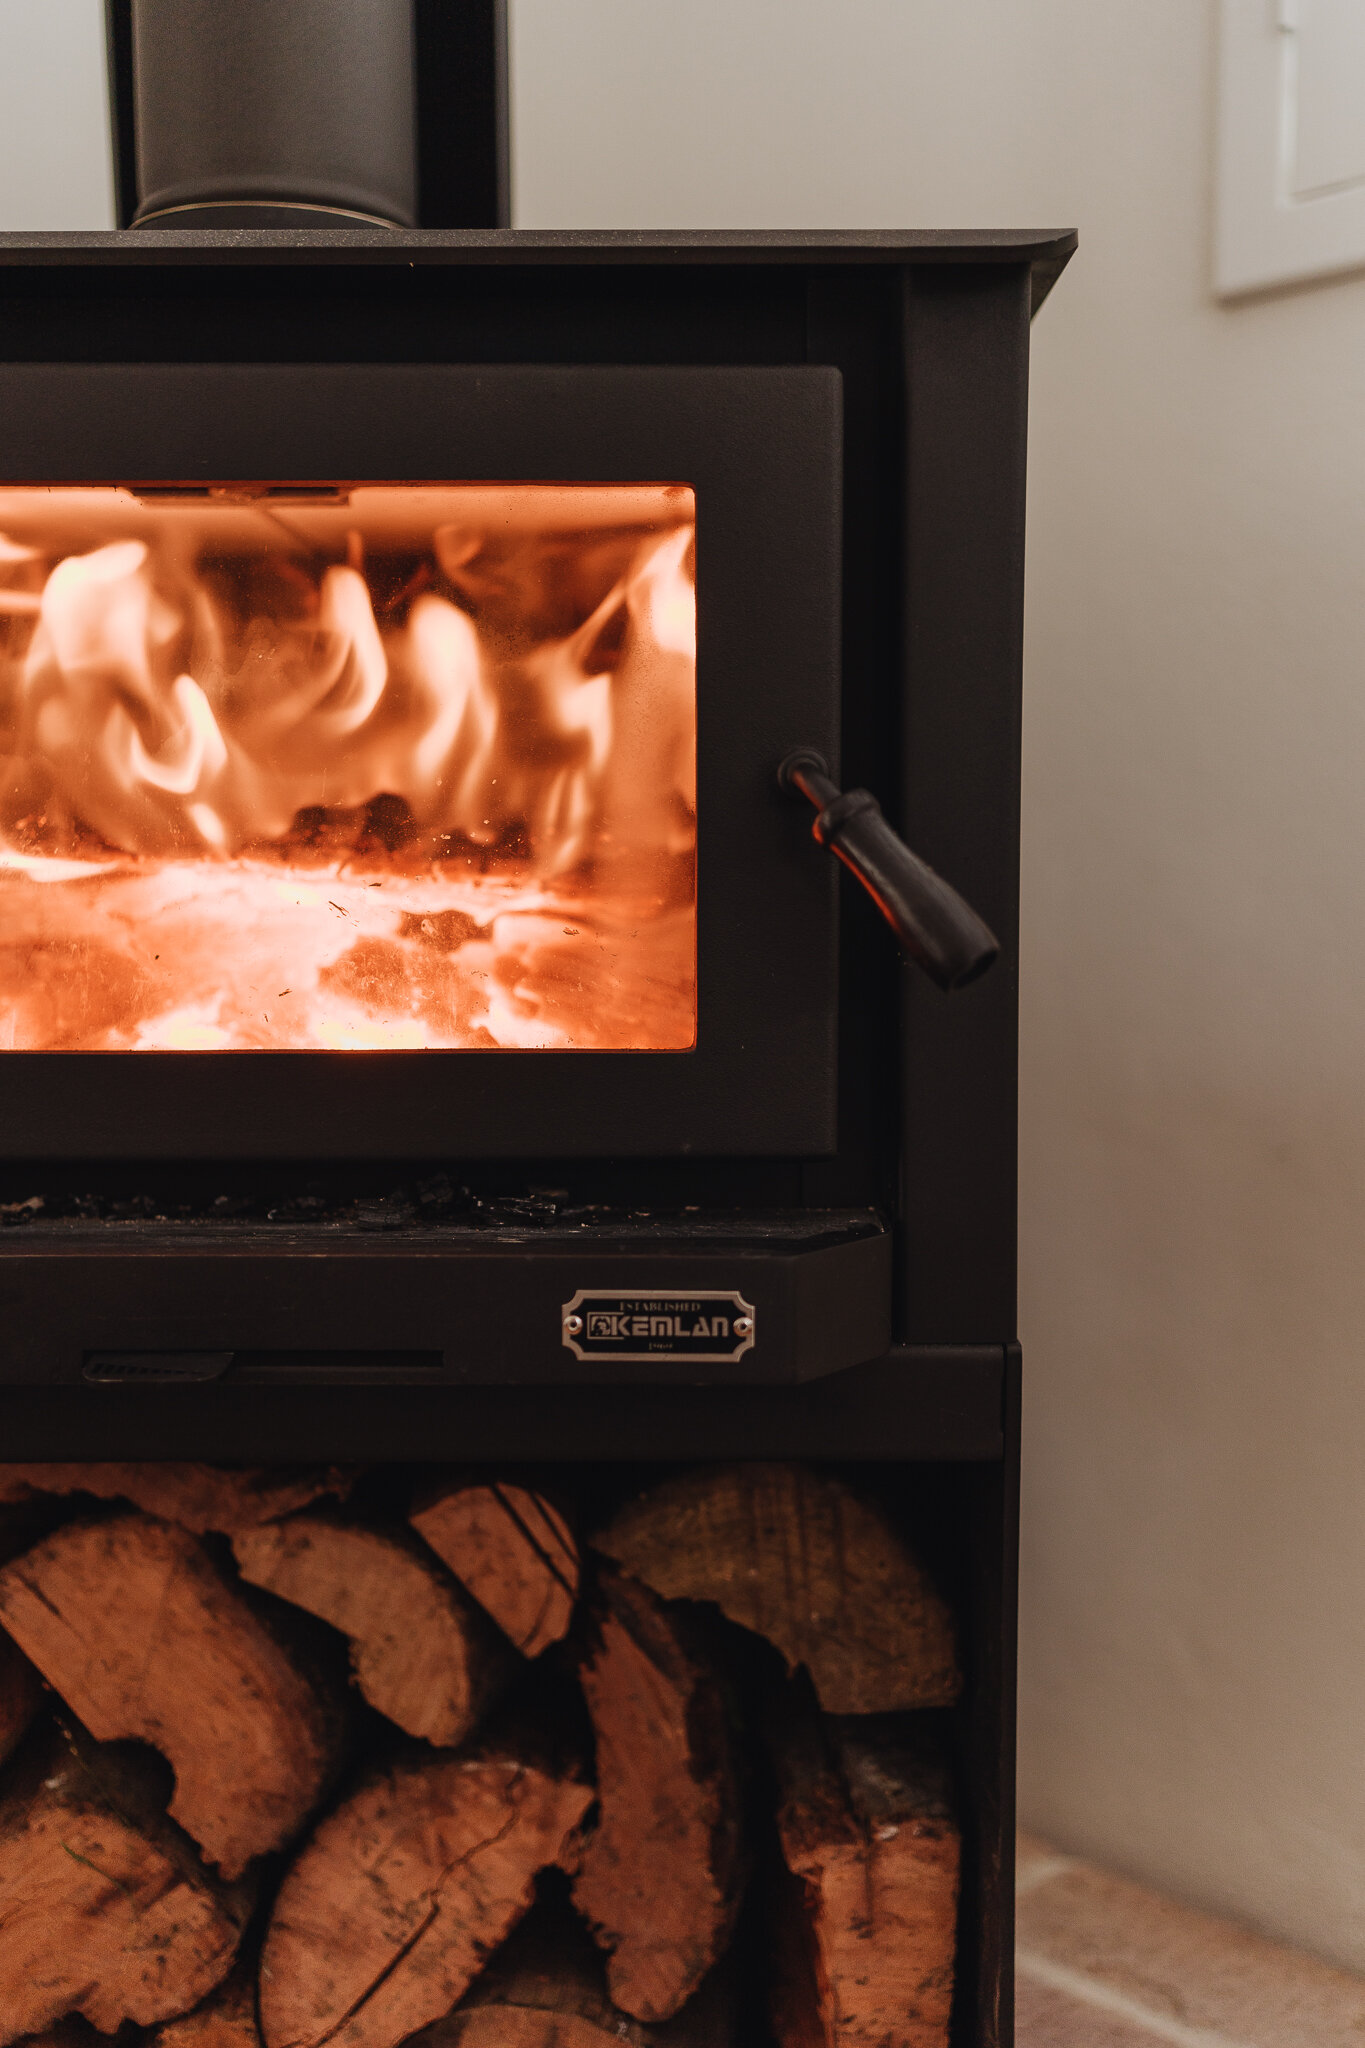
While we were visiting the local brick supplier to choose our bricks, we had a look at their range of fireplaces, they had some beautiful styles with HUGE price tags. However, there was one that caught my eye, a small stacker, similar to the one we had, however, it had a slightly more traditional look with smaller clearances, meaning it could sit back closer to the wall! The fireplace was $2,200, so another $500 more than the original one but I loved the look of it so much more! Being the middle of winter the shop assistant advised there was a 12-week wait on that particular one, however, if we wanted the floor stock we could take it home today! Without yet having returned the other fireplace we agreed and purchased a cute little Kemlan fireplace called the TEMPO Stacker 3.
So now with two 200kg fireplaces in our possession, we had to figure out how to repackage and lug the other one back to Bunnings, much to my husband’s dismay! We almost didn’t take it back given the inconvenience of it all but I’m so glad we did as the fireplace we settled on is absolutely perfect. In the hardware store, the original fireplace looked great and semi-small, however, in a smaller space, it just towered over the room and took over. It was also quite modern with sleek lines which didn’t suit our space once it was next to our furniture (you can see a couple of snaps of it below in the carousel slides). It was quite the ordeal, however, I’m so glad we (by we I mean Jack and friends) went to all the effort of swapping them over as I love the new one so much!
See some of our quick progress snaps below:
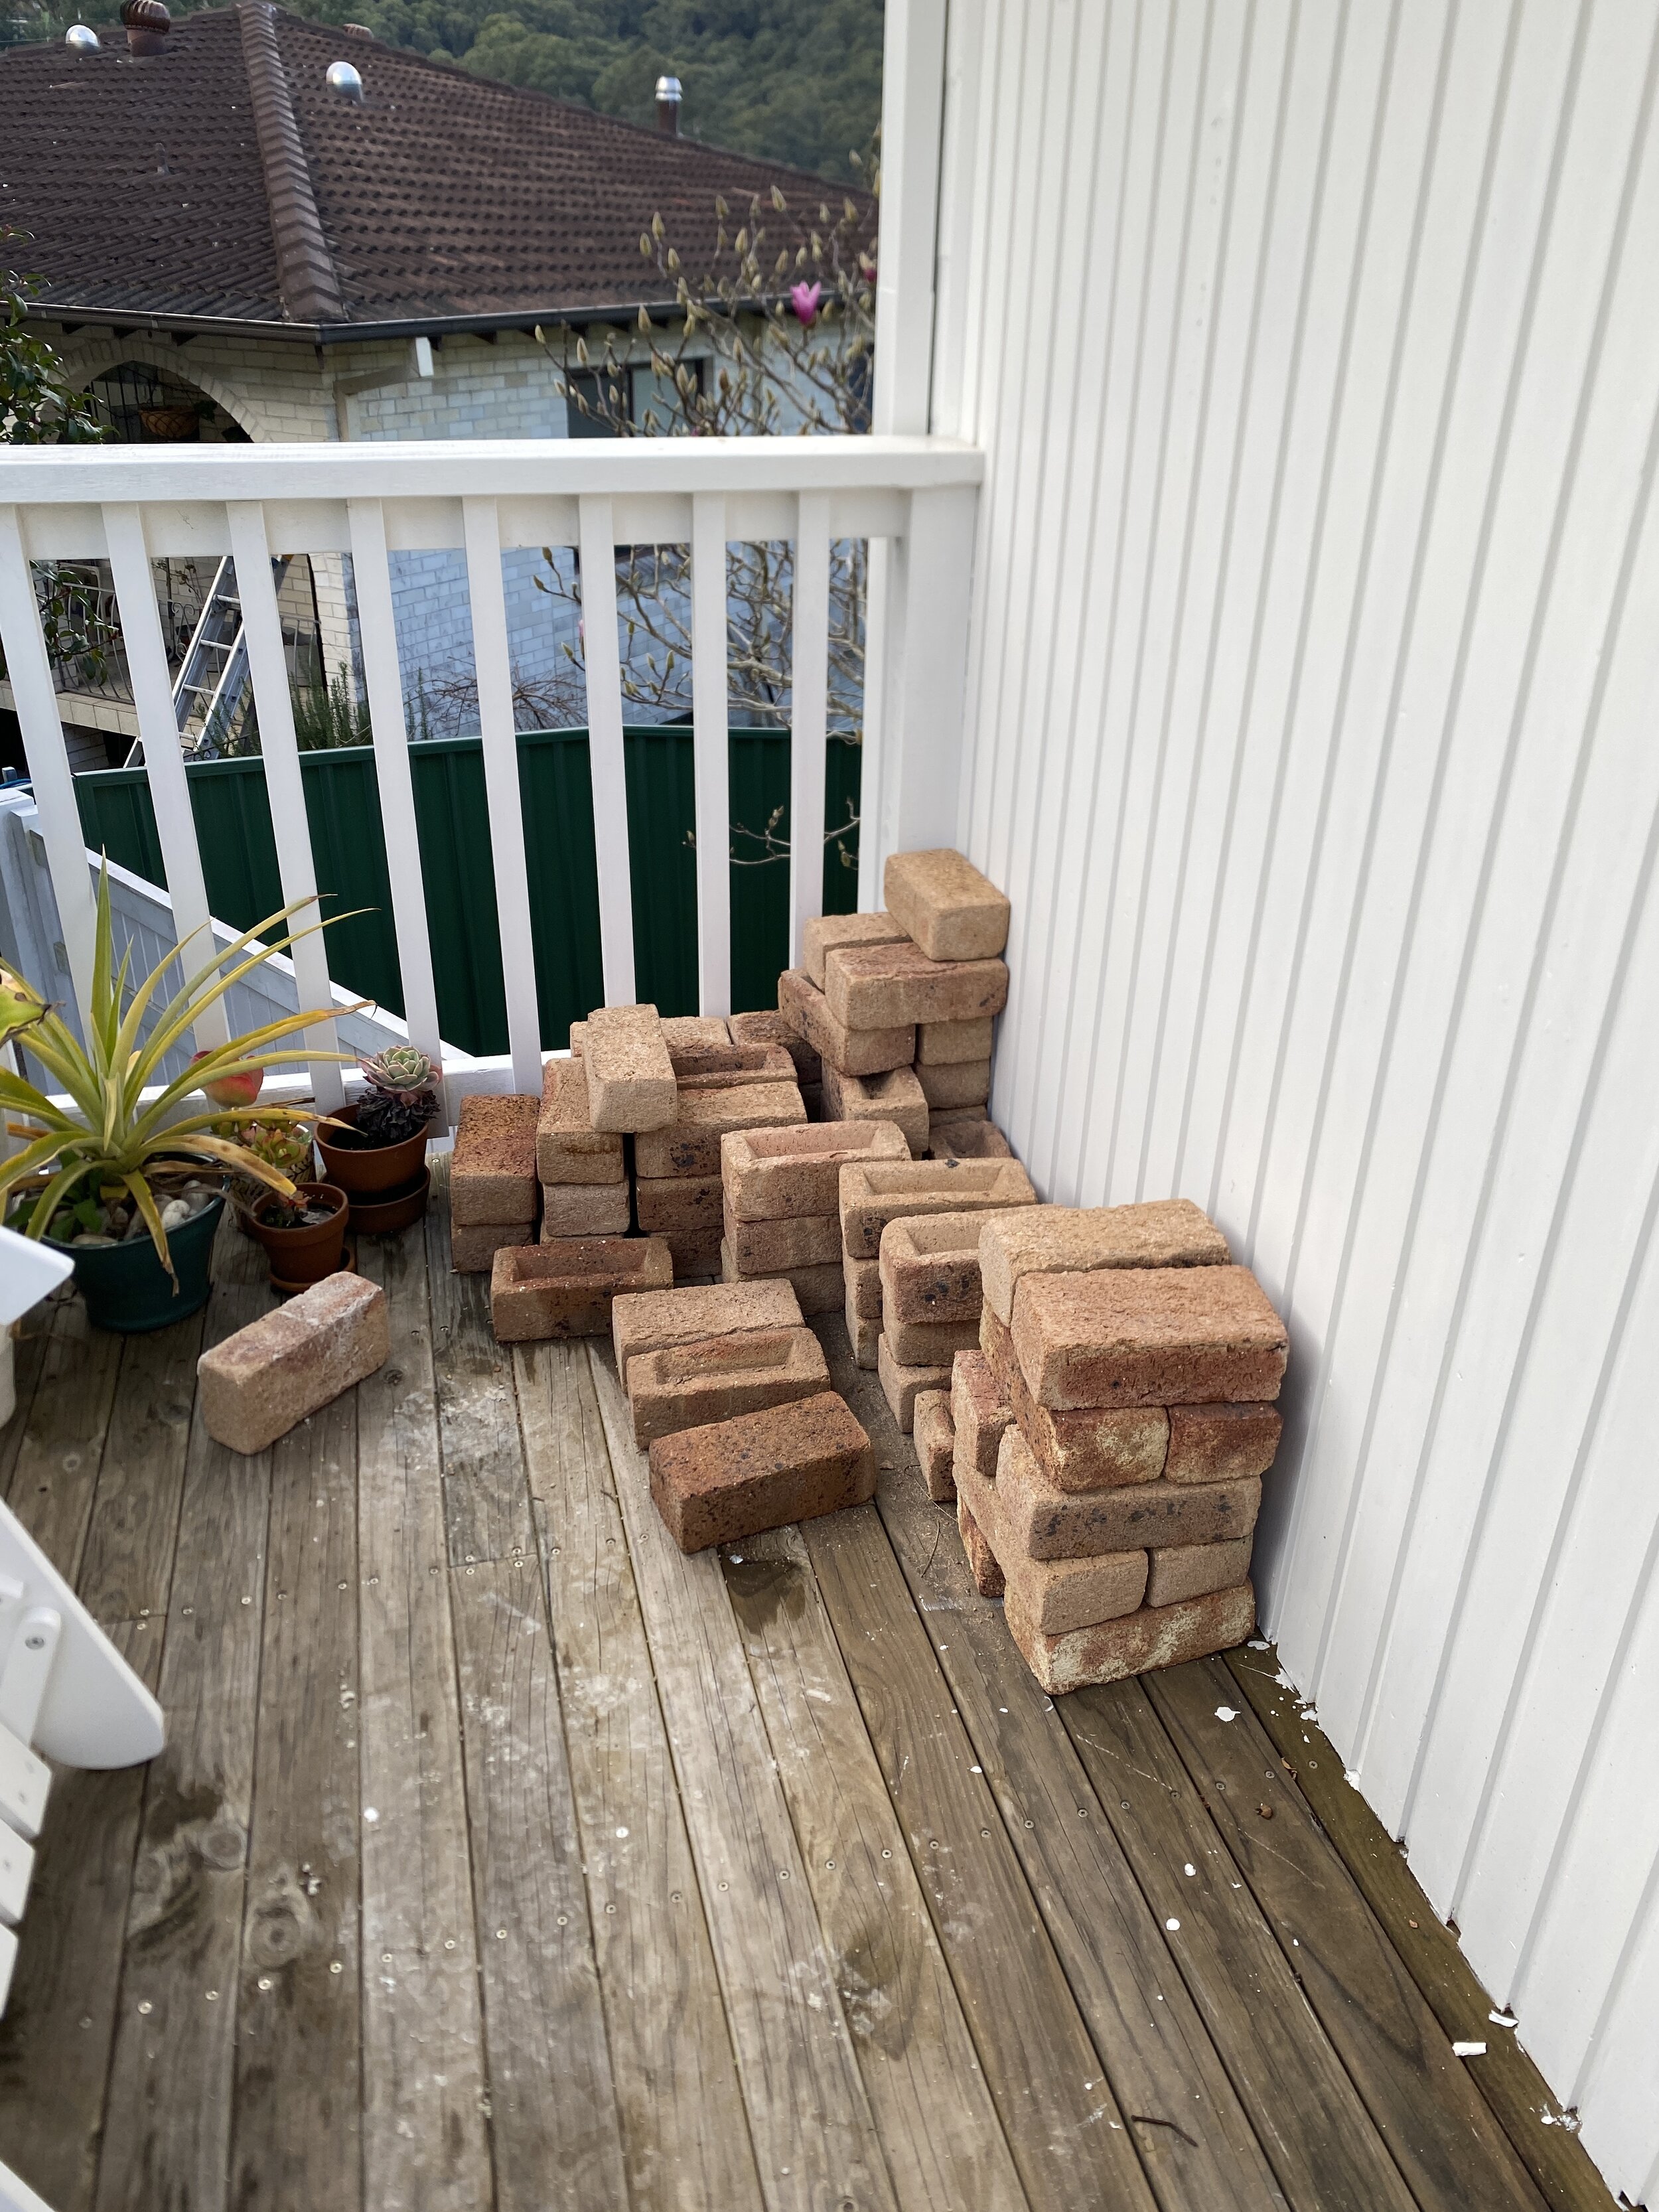
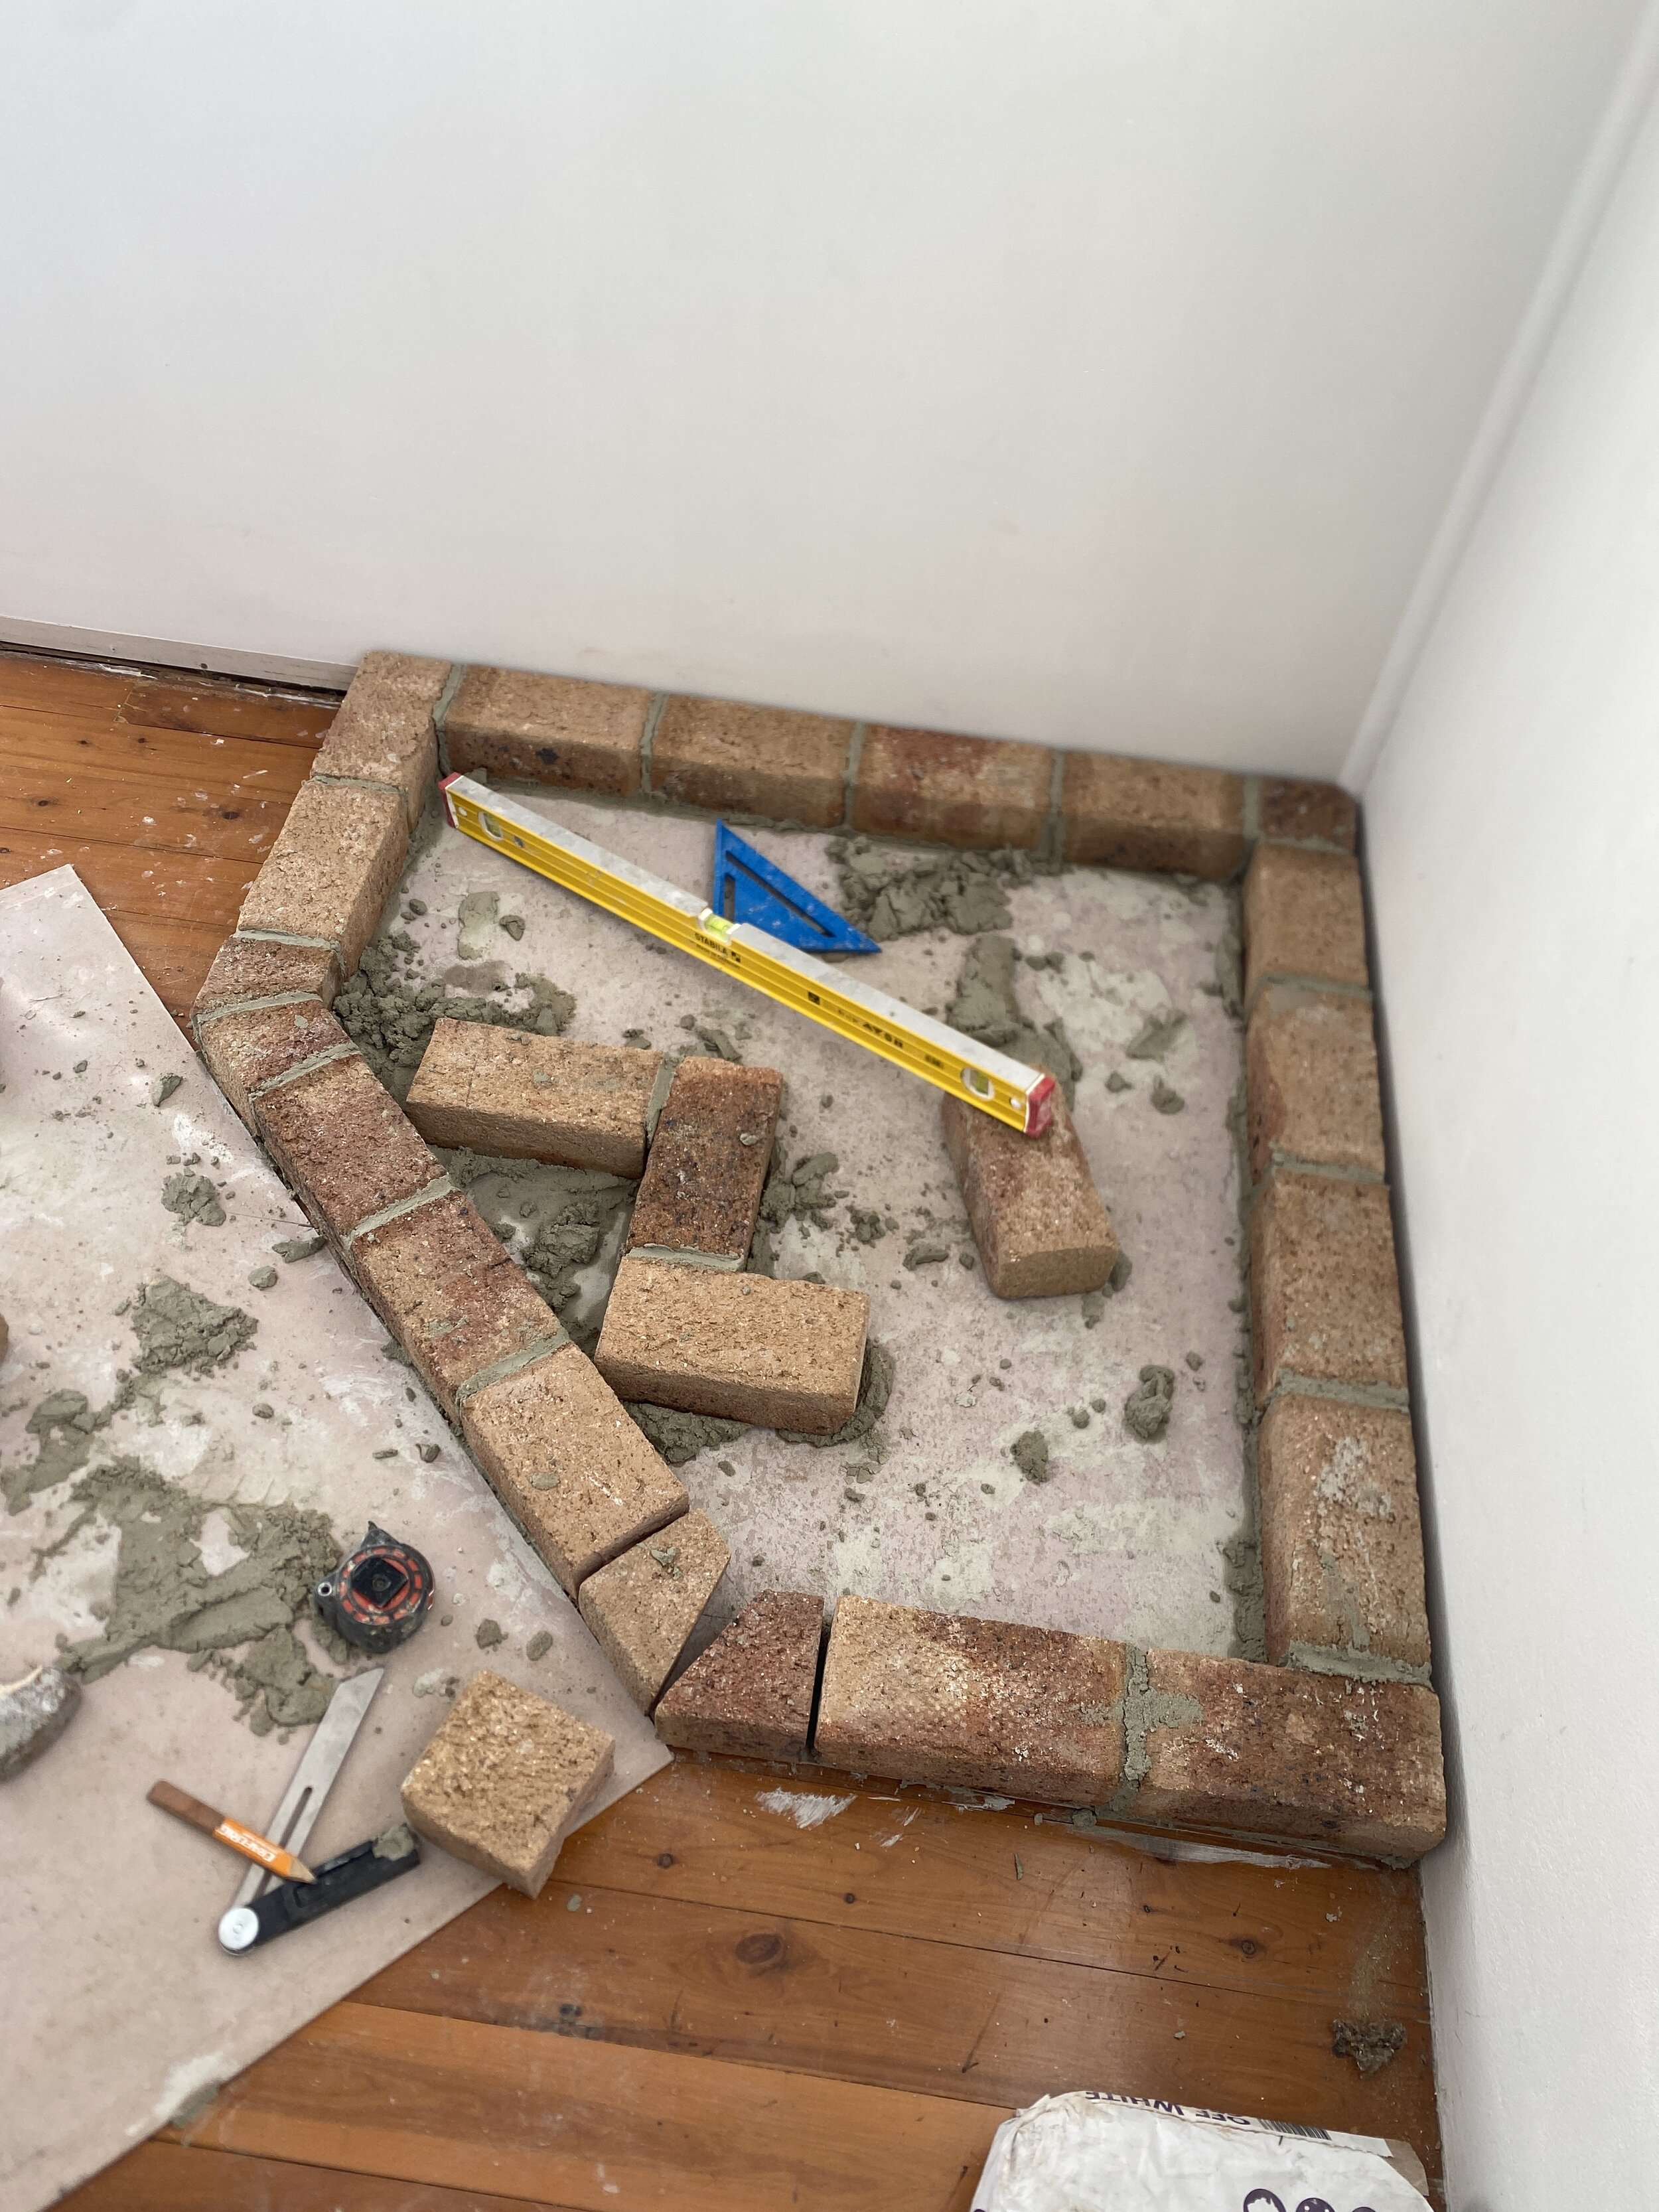
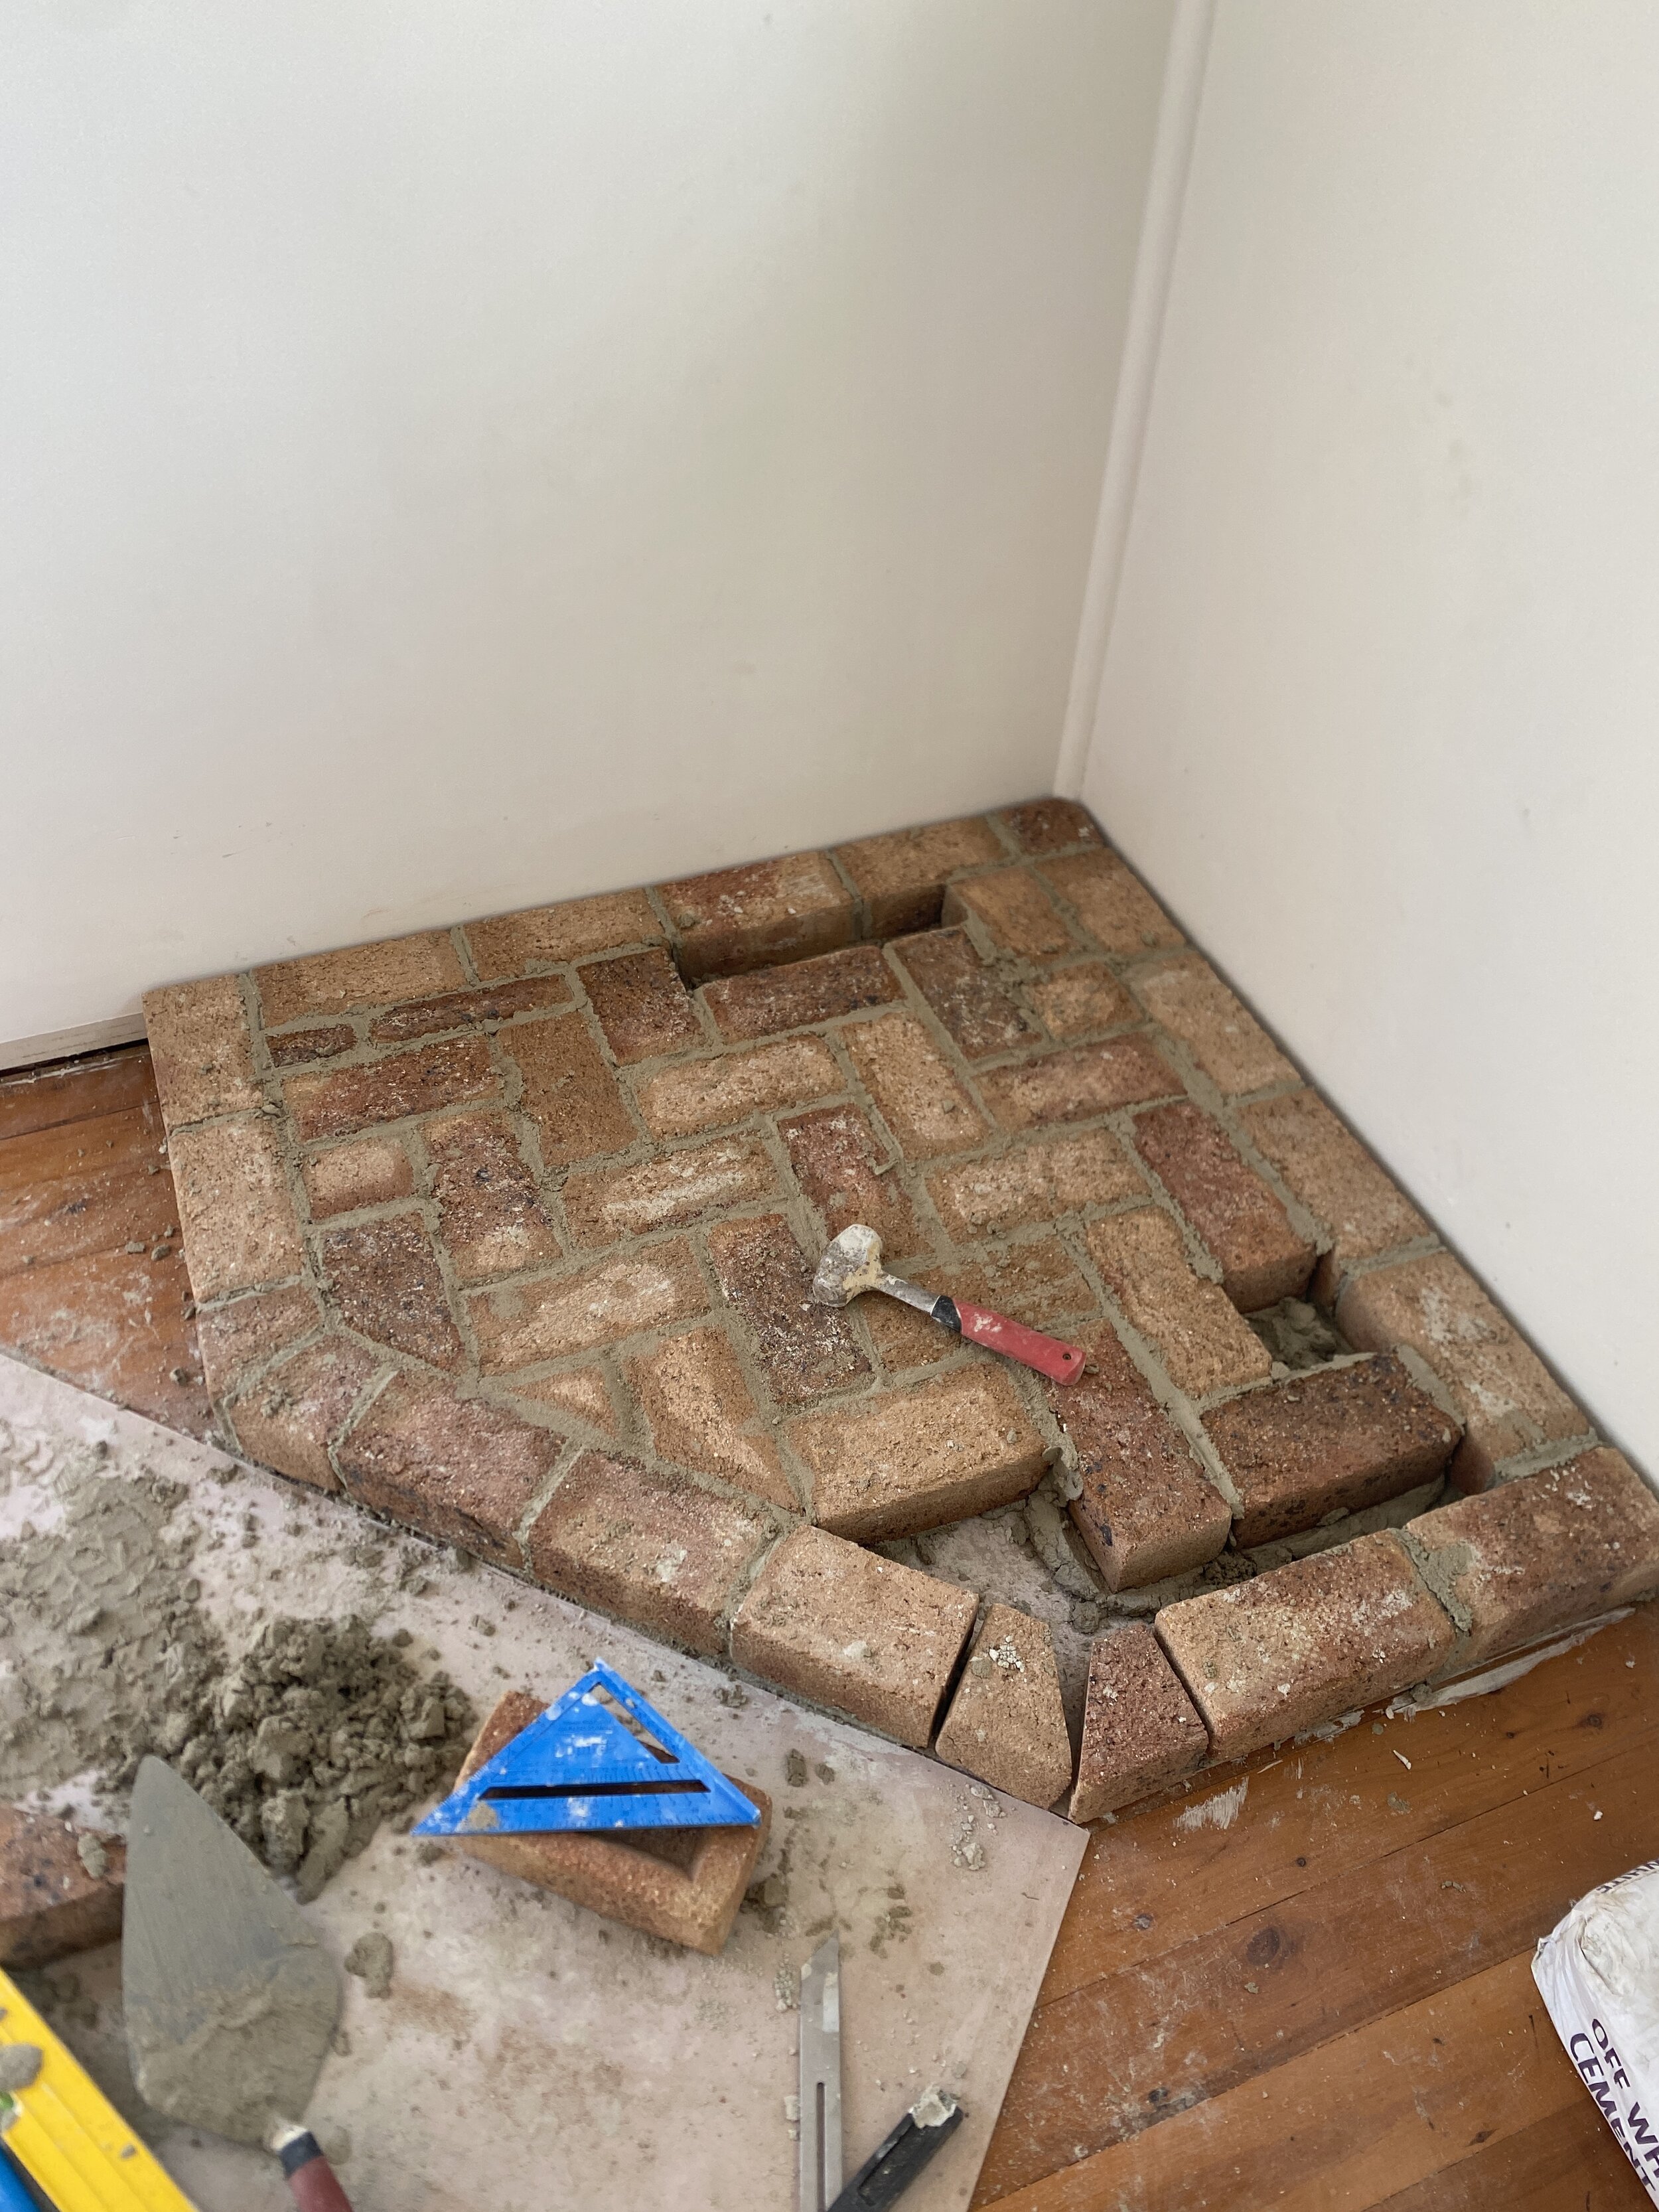

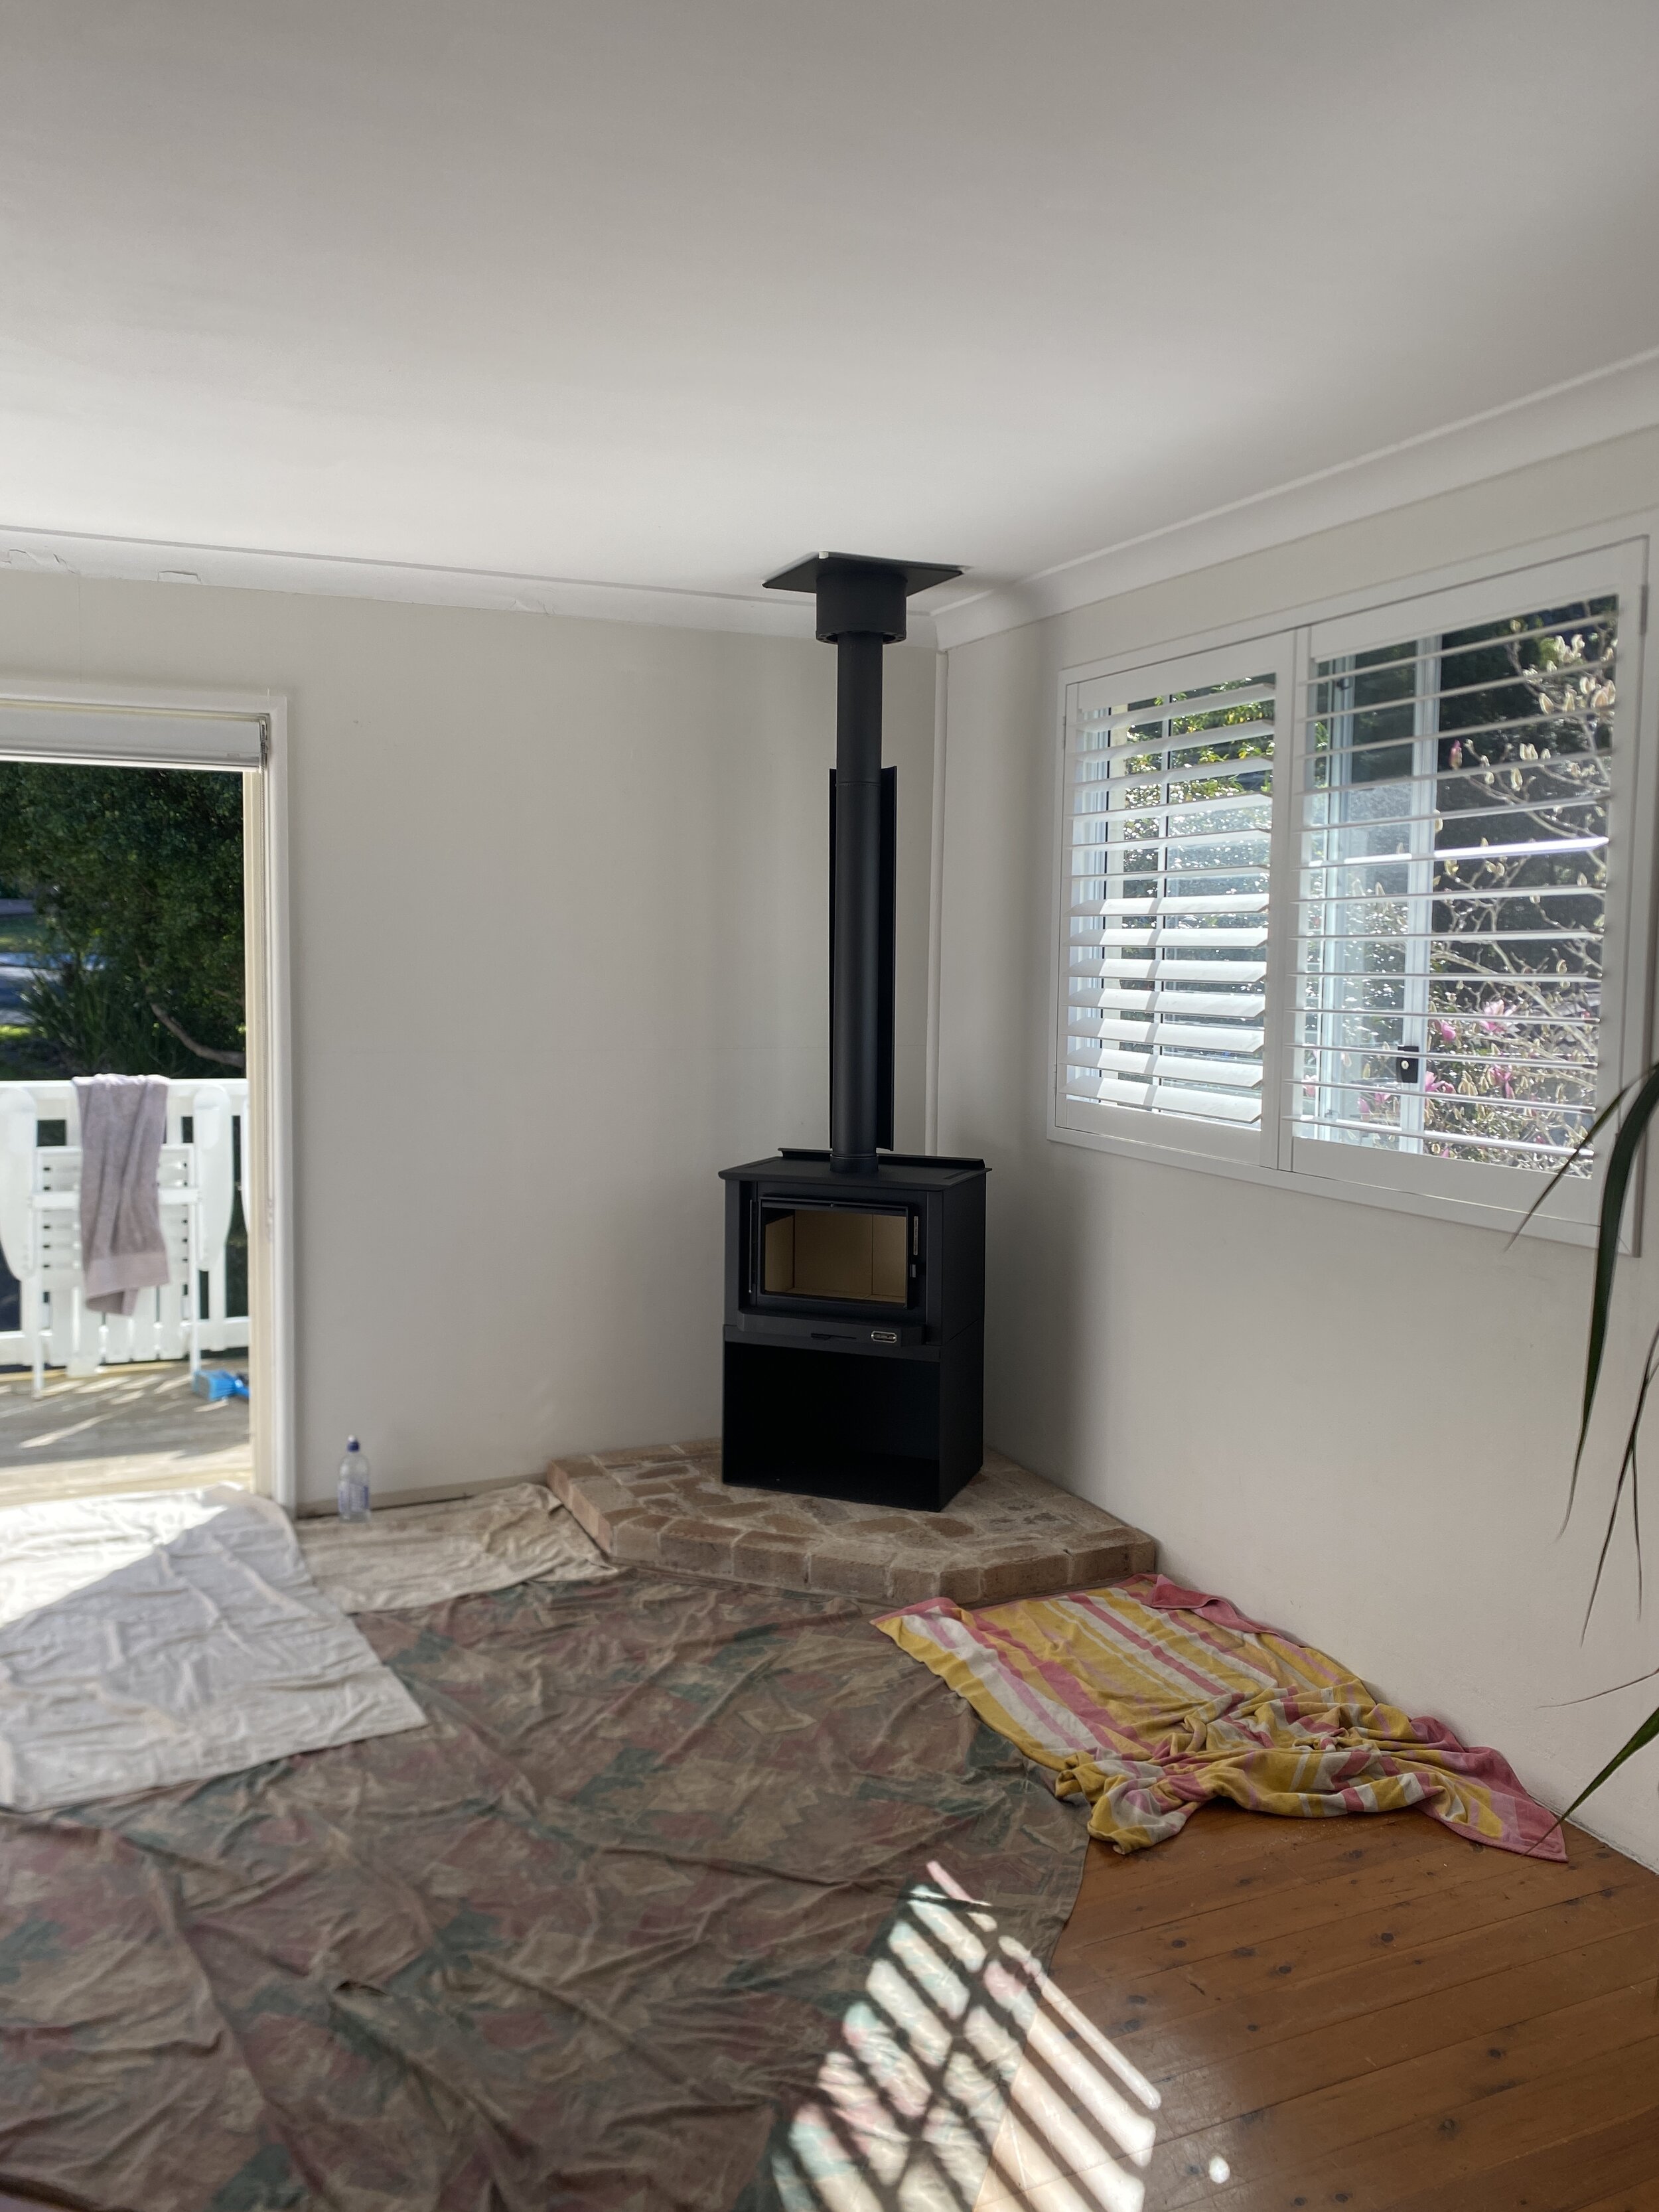

It took us a while to secure a bricklayer to install the hearth for us. We had a number of brickies confirm then just not show up even though we had pre-purchased all materials! This seems to be a recurring theme with tradies on the Central Coast… spoilt for work perhaps? Anyway, one guy ended up coming through and whipped it up for us in a day. We used an off-white mortar to avoid having a ‘stark’ white look and we are really happy with how it came up, although I still have some wire brush cleaning to do. You can actually acid wash the bricks, however, it’s quite toxic so ended up sticking with a natural and more manual labour option of multiple scrubs!
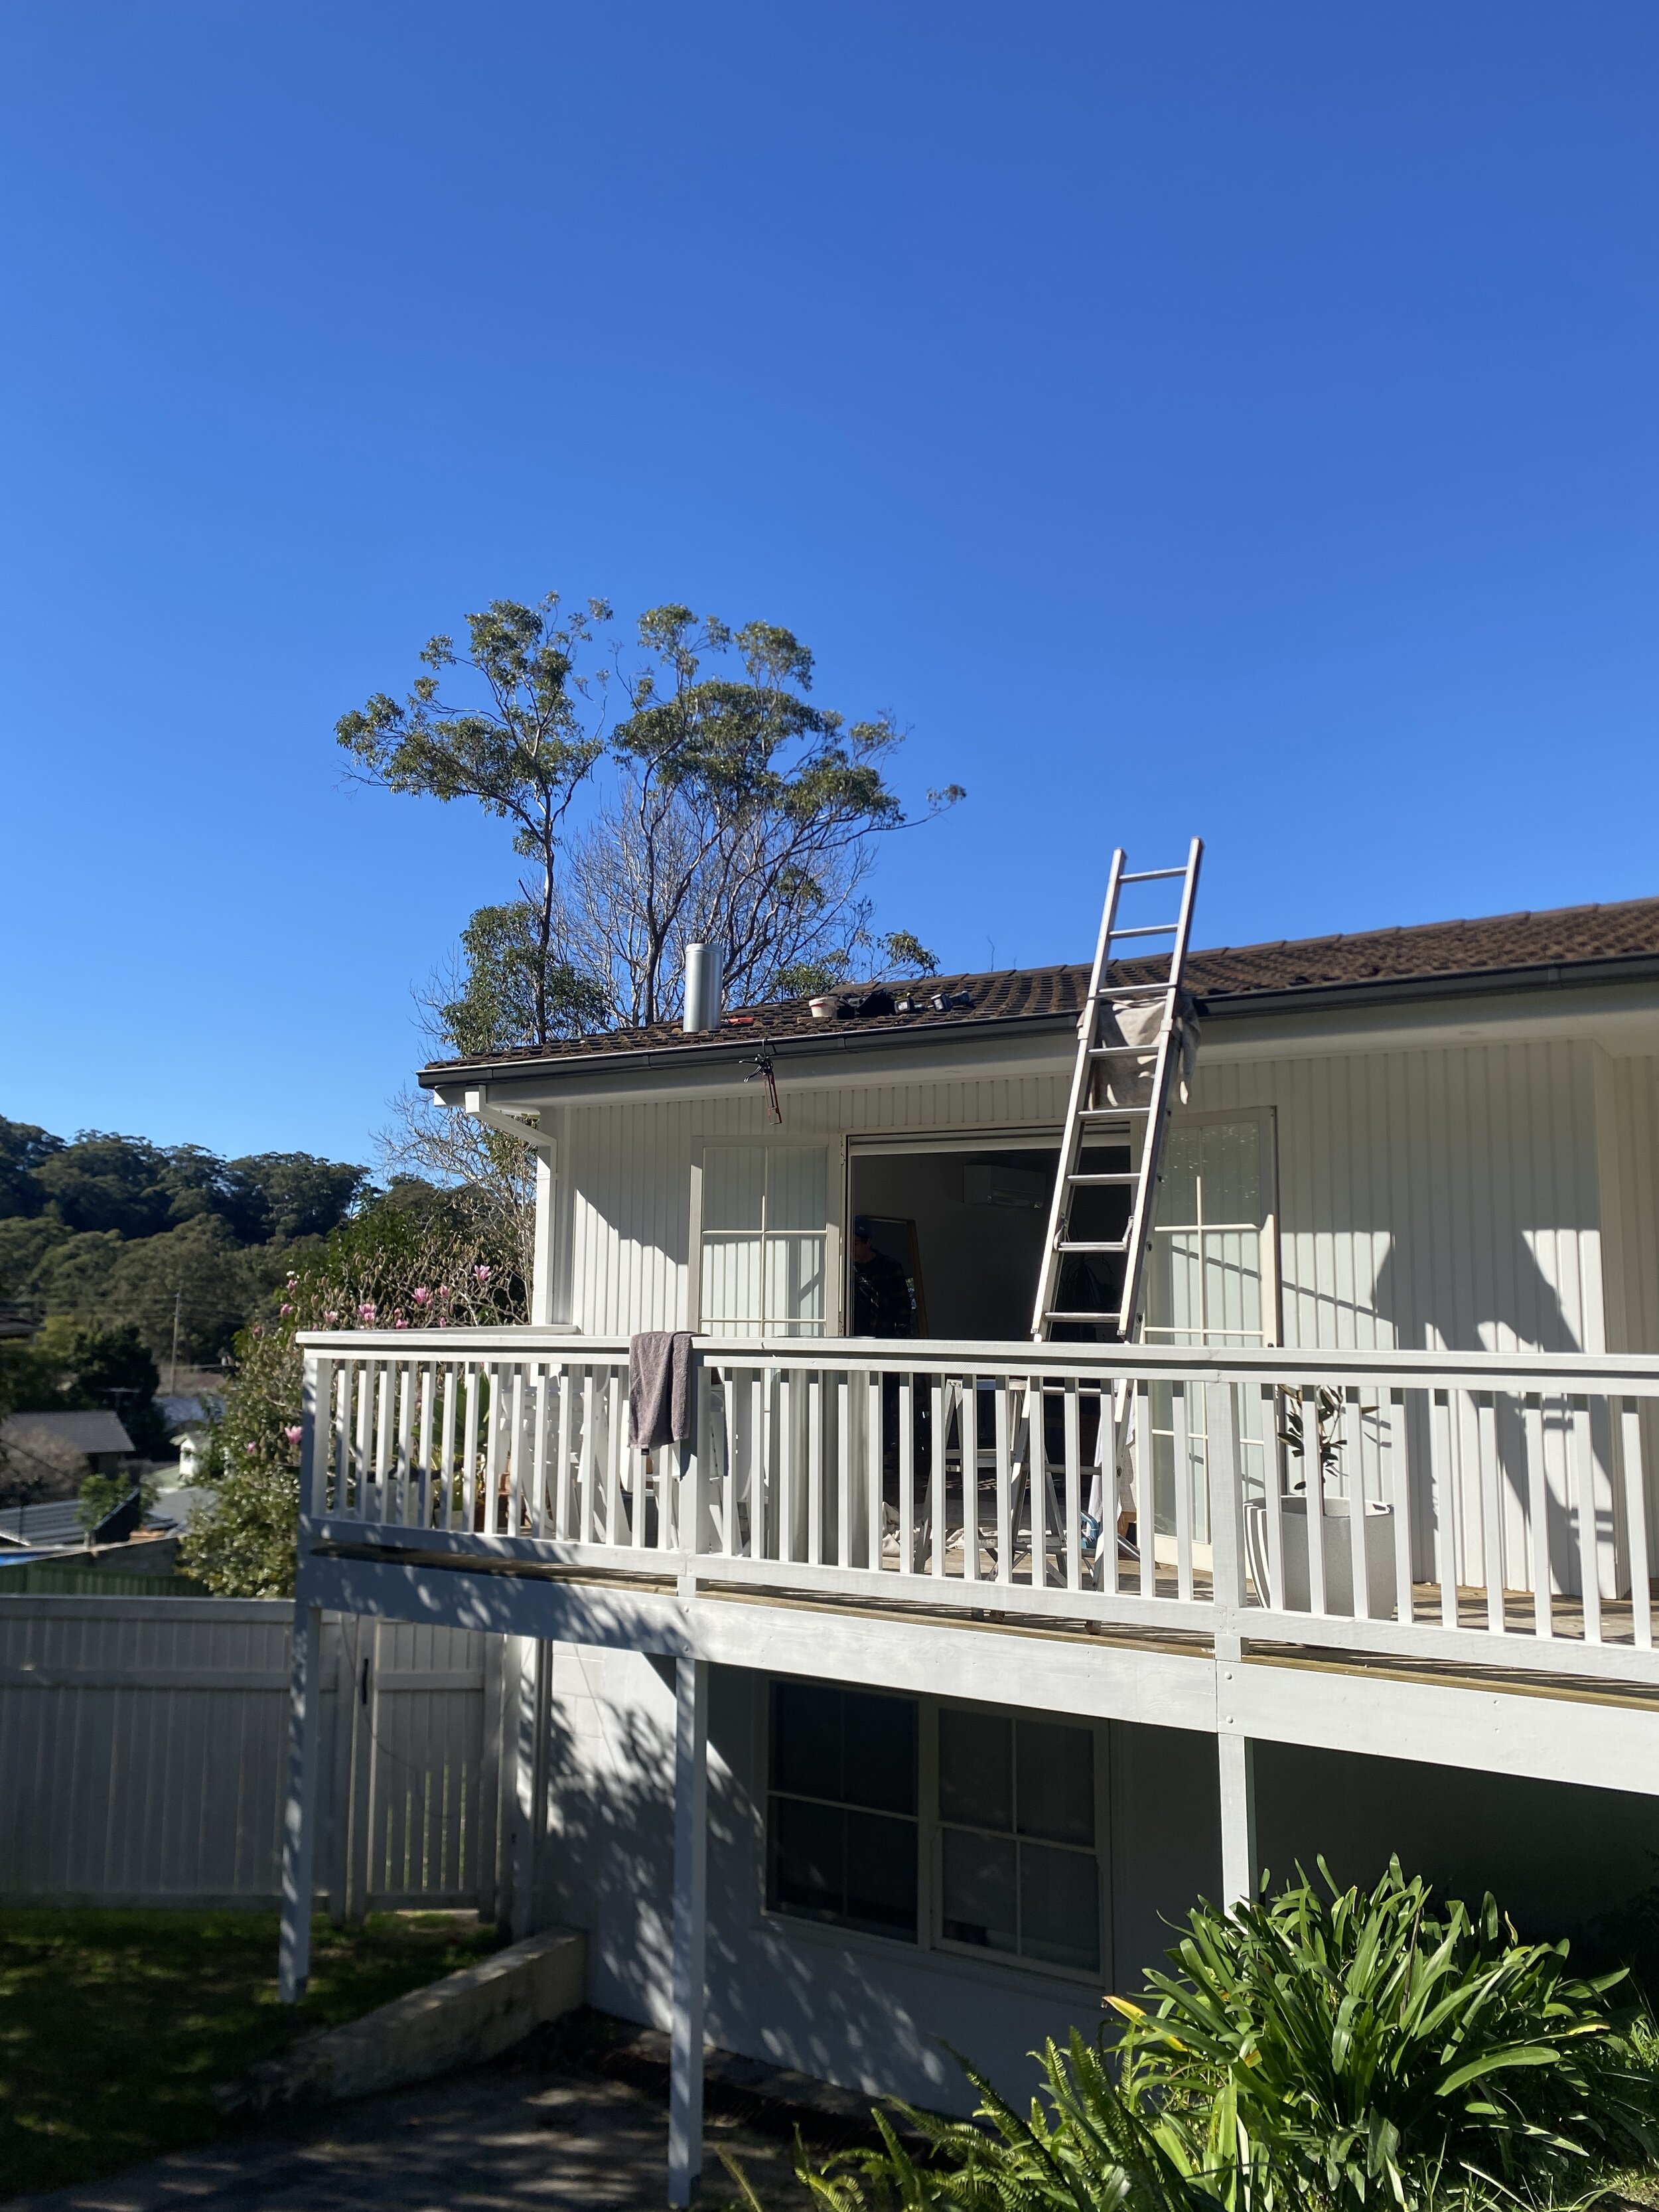
Our fireplace installer, Craig Tysoe, was really lovely and informative. We had booked him in to install on a Monday, however, with the Sydney COVID outbreak, they had called a halt to all construction work commencing Monday! Craig was lovely enough to come in on the Sunday before to get our fireplace installed before the lockdown started. We were so grateful, especially after mucking around with the fireplace swap debacle and being stood up by multiple brickies. Craig took care and pride in his work and was great at explaining the best ways to use our new fireplace.
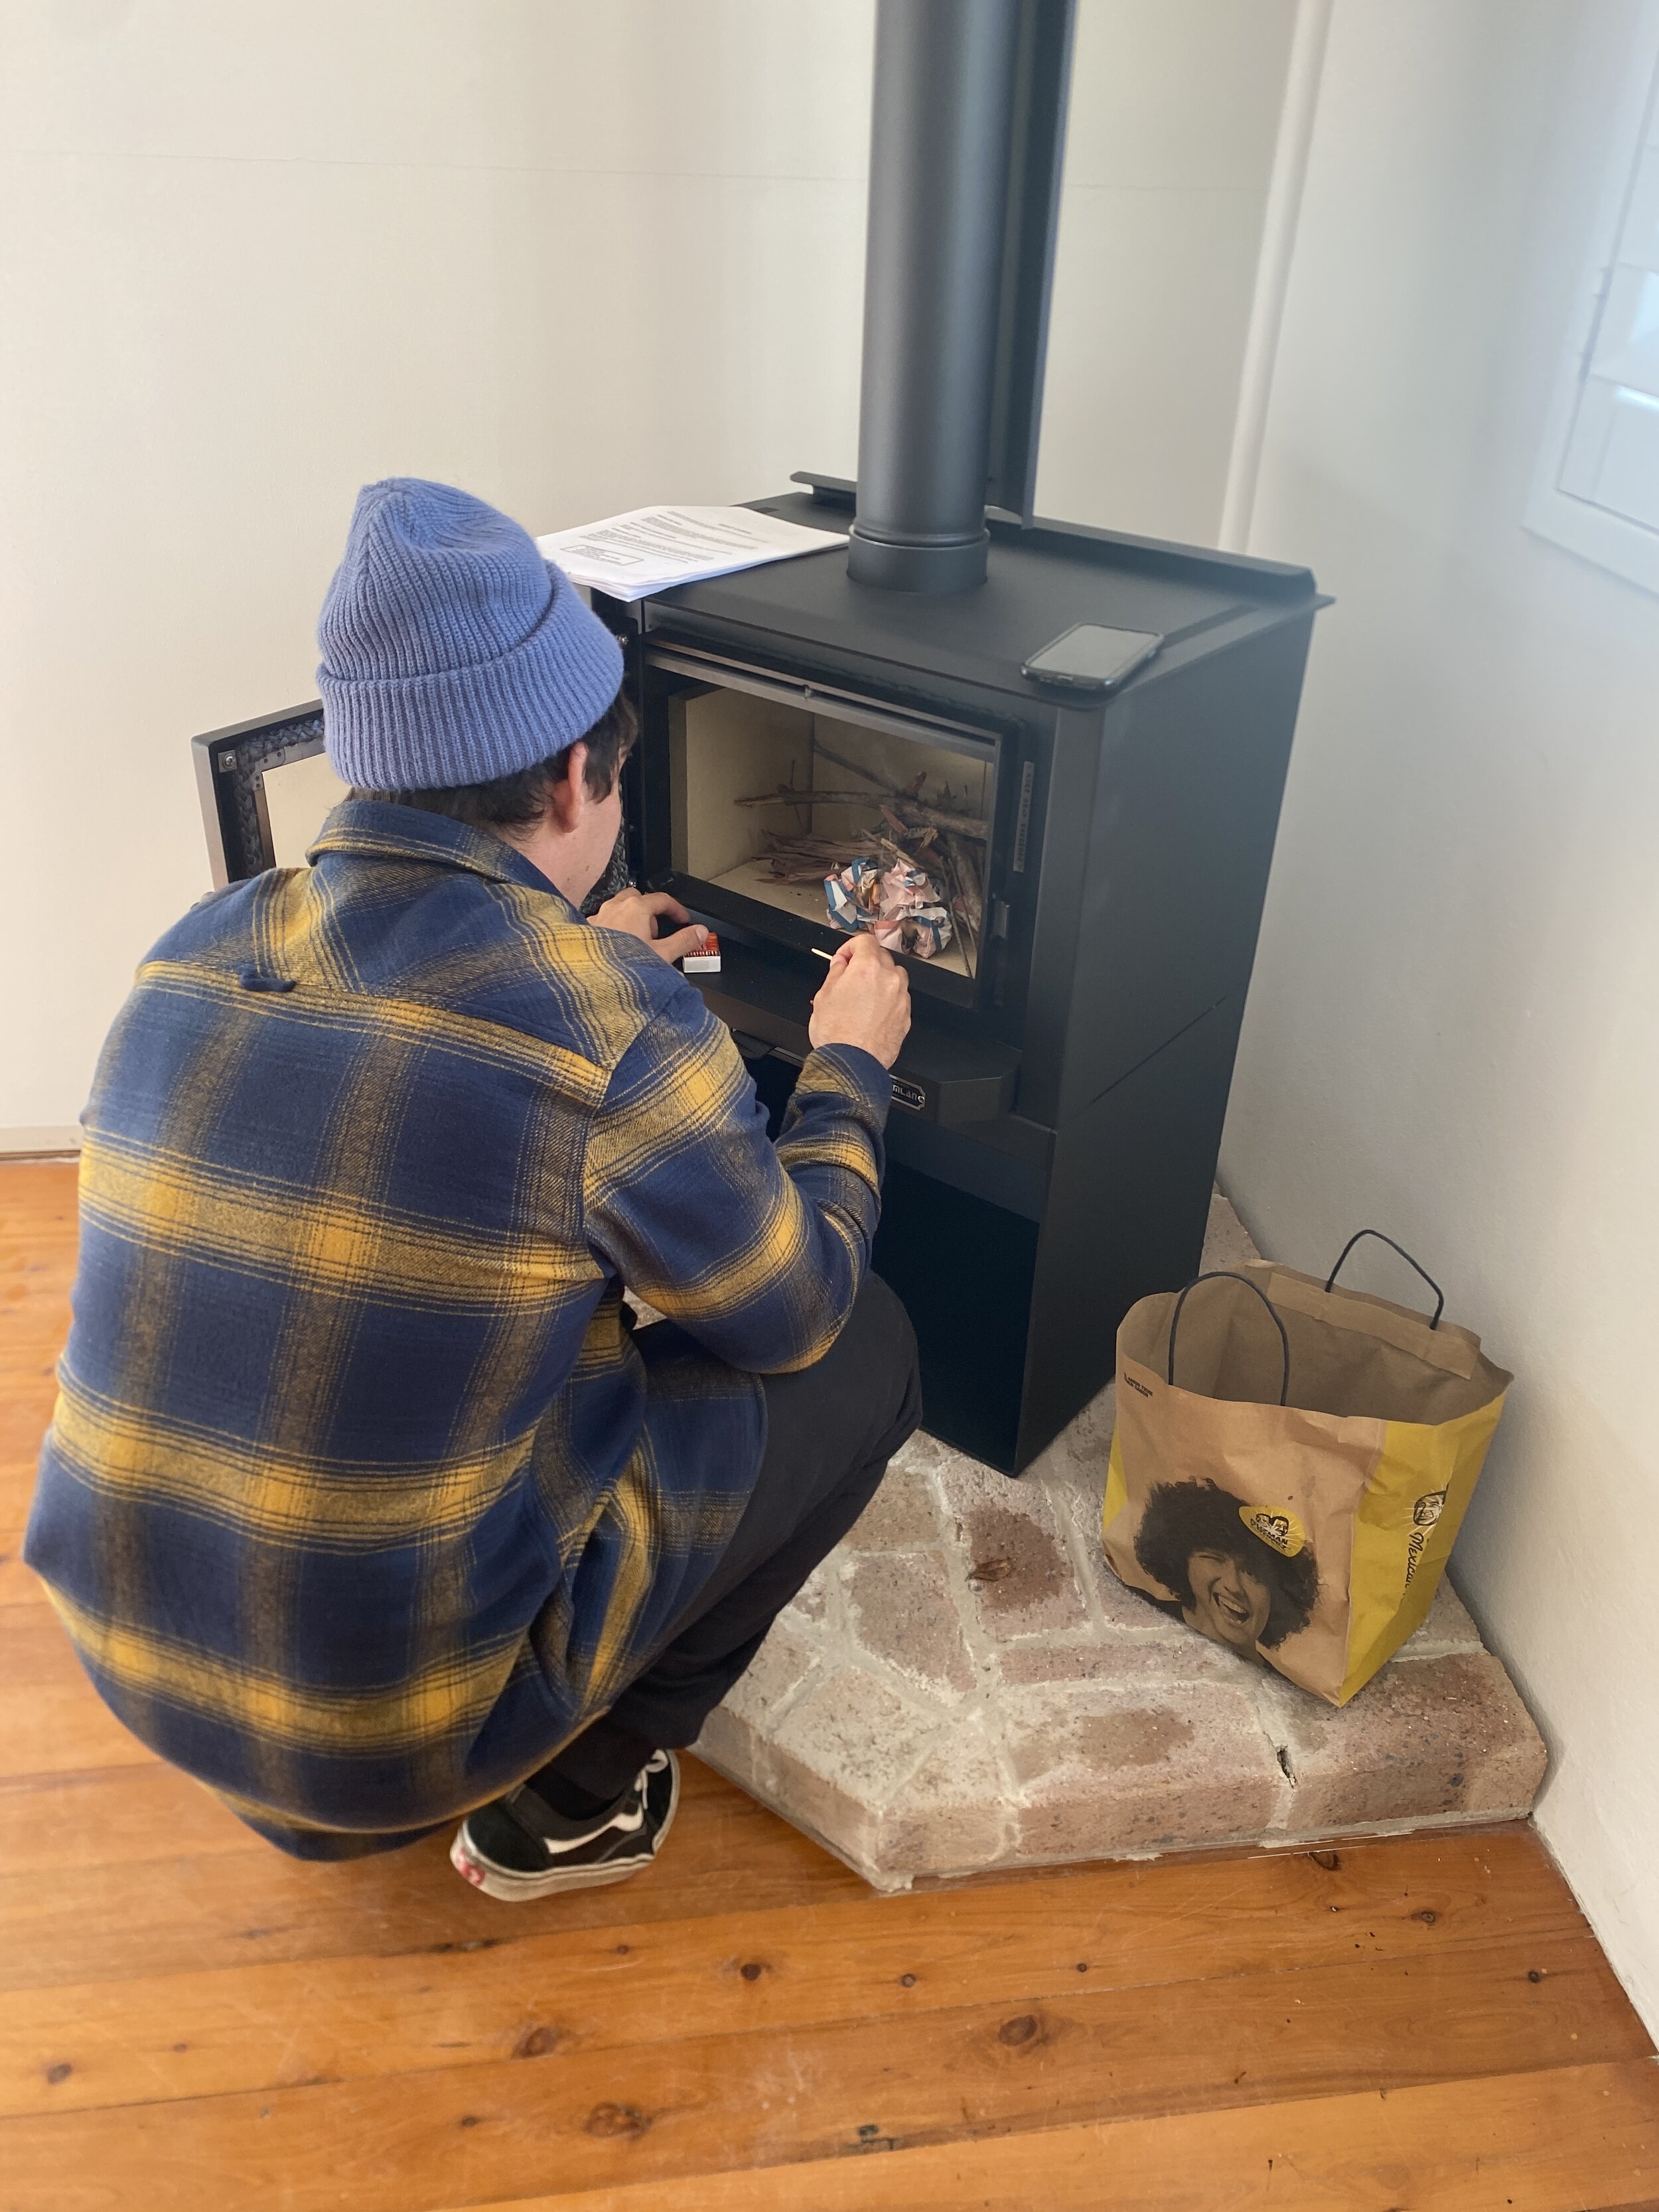
Now that it’s installed, it has certainly been a bit of a learning curve discovering the science behind a well-heated fireplace. Even growing up with fireplaces, I’ve noticed there are a few tips and tricks to learn about a smaller woodfire and using it efficiently.
As we purchased this fireplace brand new, after the first few lights there were some strong chemical smells coming off the unit. This is a normal process of curing the black paint and only lasted about 3 burns. We had our house well ventilated for this process and were out of the house as much as possible.
I’ve had a couple of people ask about the costs to work into their budgets, I’ve put our costs below, however, I will say you could probably do this process a fair bit cheaper. We installed this woodfire in the peak of winter as well as during a time where brickies were in demand, these factors certainly pushed our price right up but we wanted it this winter and therefore we certainly paid for it.

The Process
Our process was as follows:
Choose a Fireplace (or two LOL) - check the heating capacity according to the size of your house
Map out your dimensions on the floor to ensure you’re OK with the size
Select your material for the Hearth and have it built to your fireplace specifications and clearances
Contact a qualified fireplace installer to finish off the job!

Costs:
Kemlan Woodfire - $2,200
Flue Kit - $400
Brick Hearth - $450
Fireplace Installation by qualified tradesman - $920
TOTAL: $3,970
Hopefully, this is helpful, I wish there was a post like this for us when we were in the throes of planning, we had no idea what to do or even how much it would cost! All I can say is you will NOT regret it. Out of all our home projects so far, this has been the one to bring me the most amount of joy.
Please let me know if you had any questions, happy to help where I can!