How to create a Vision Board for Manifestation
The art of vision boarding isn’t new, nor is it magic, make-believe stuff. Vision boarding, or visualising in its most basic form, is designed to keep you in alignment with your goals by reflecting and re-focussing on your intentions each day. Visualising helps you to remember your why and keeps you on track for success.
The term ‘visualisation’ can often have woo-woo/new-age type connotations, however, there is a science to support the art of visualisation. There is a great article here by Psychology Today, outlining some truly interesting research in this area.
You can create a DIY vision board anytime you want. I often complete one at the start of the year, using the time in between Christmas and New Years to get clear on my intentions for the year ahead. However, you can complete this activity anytime such as starting a new job, each month, or even on your birthday each year. I know some people even have multiple vision boards for different areas of their lives too!
The recently emerged ‘October Theory’ over on TikTok explains that October is another great time to create a vision board given that many people use this month as a chance to start afresh. This theory suggests that October is a perfect time to carry out some reflection and make some last-minute lifestyle adjustments before the end of the year.
I like to think of vision boarding as a visual representation of journalling. I’m a highly visual learner so this form of goal setting really does appeal to me. What do you think? Give it a go using the 4 simple vision board ideas and tips below. Maybe you’d even like to get some friends around for a vision boarding party - pair with whole foods and great company for a night of inspiration!
I’d love to know what your thoughts are about this process in the comments below or even better, tag me in your vision boards over on Instagram!
Let’s get started on your step-by-step vision board guide…
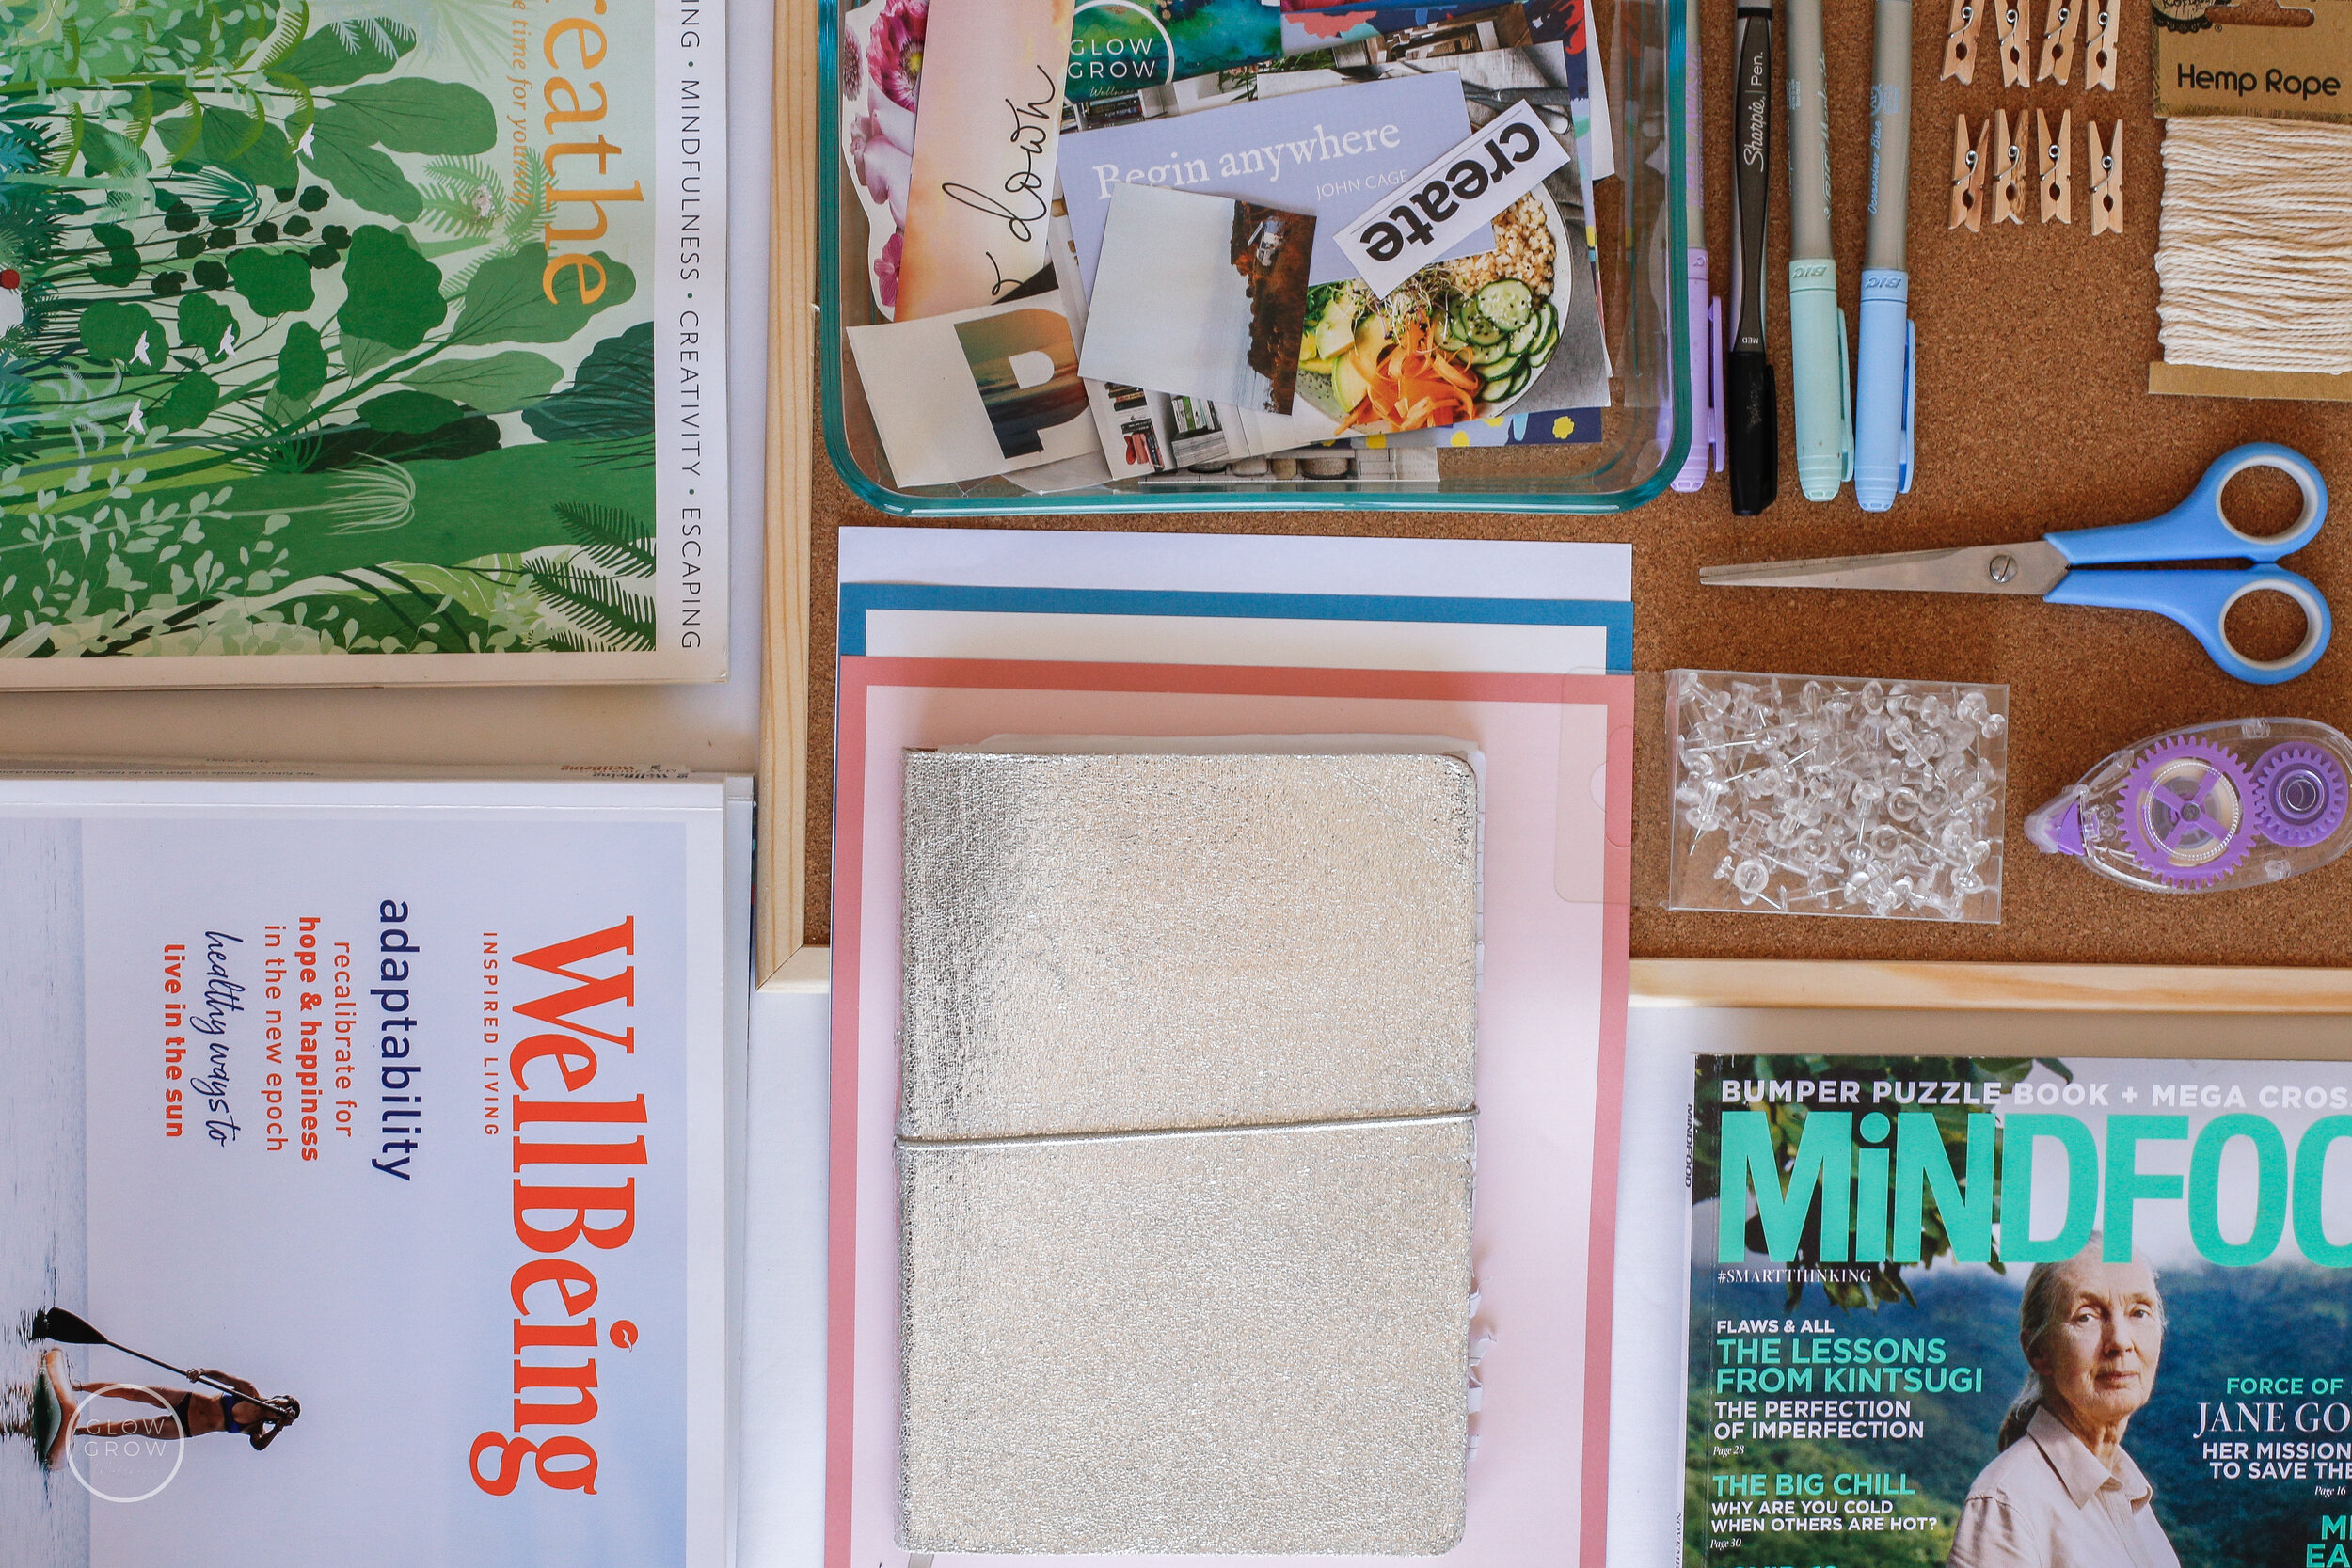
You will need:
Cork pinboard
Scissors
Old Magazines/Photos/Trinkets/Souvenirs or other items of inspiration
Thumbtacks/pushpins/glue/tape
Twine and mini pegs (optional)
Sharpie & decorative writing paper (optional)

1
Create an atmosphere. Pop on some music, use your favourite essential oils or light a candle. Set aside 2 hrs minimum for this task, you don’t want to cram it into a busy day; this should be a therapeutic exercise.
Get clear on your intentions. I’m not just talking about things you want to get this year, think about HOW you want to feel. Make a list and be specific.
Consider goals within all areas of wellbeing using the list to the left as a guide.

2
Spend time browsing magazines for images and text that truly spark joy and align with the list you’ve just created. Cut these out and save for later.
Avoid selecting images that you feel you ‘should’ desire and aim for ones that are true to who you are and where you’re headed. Continue to refer back to your list.

3
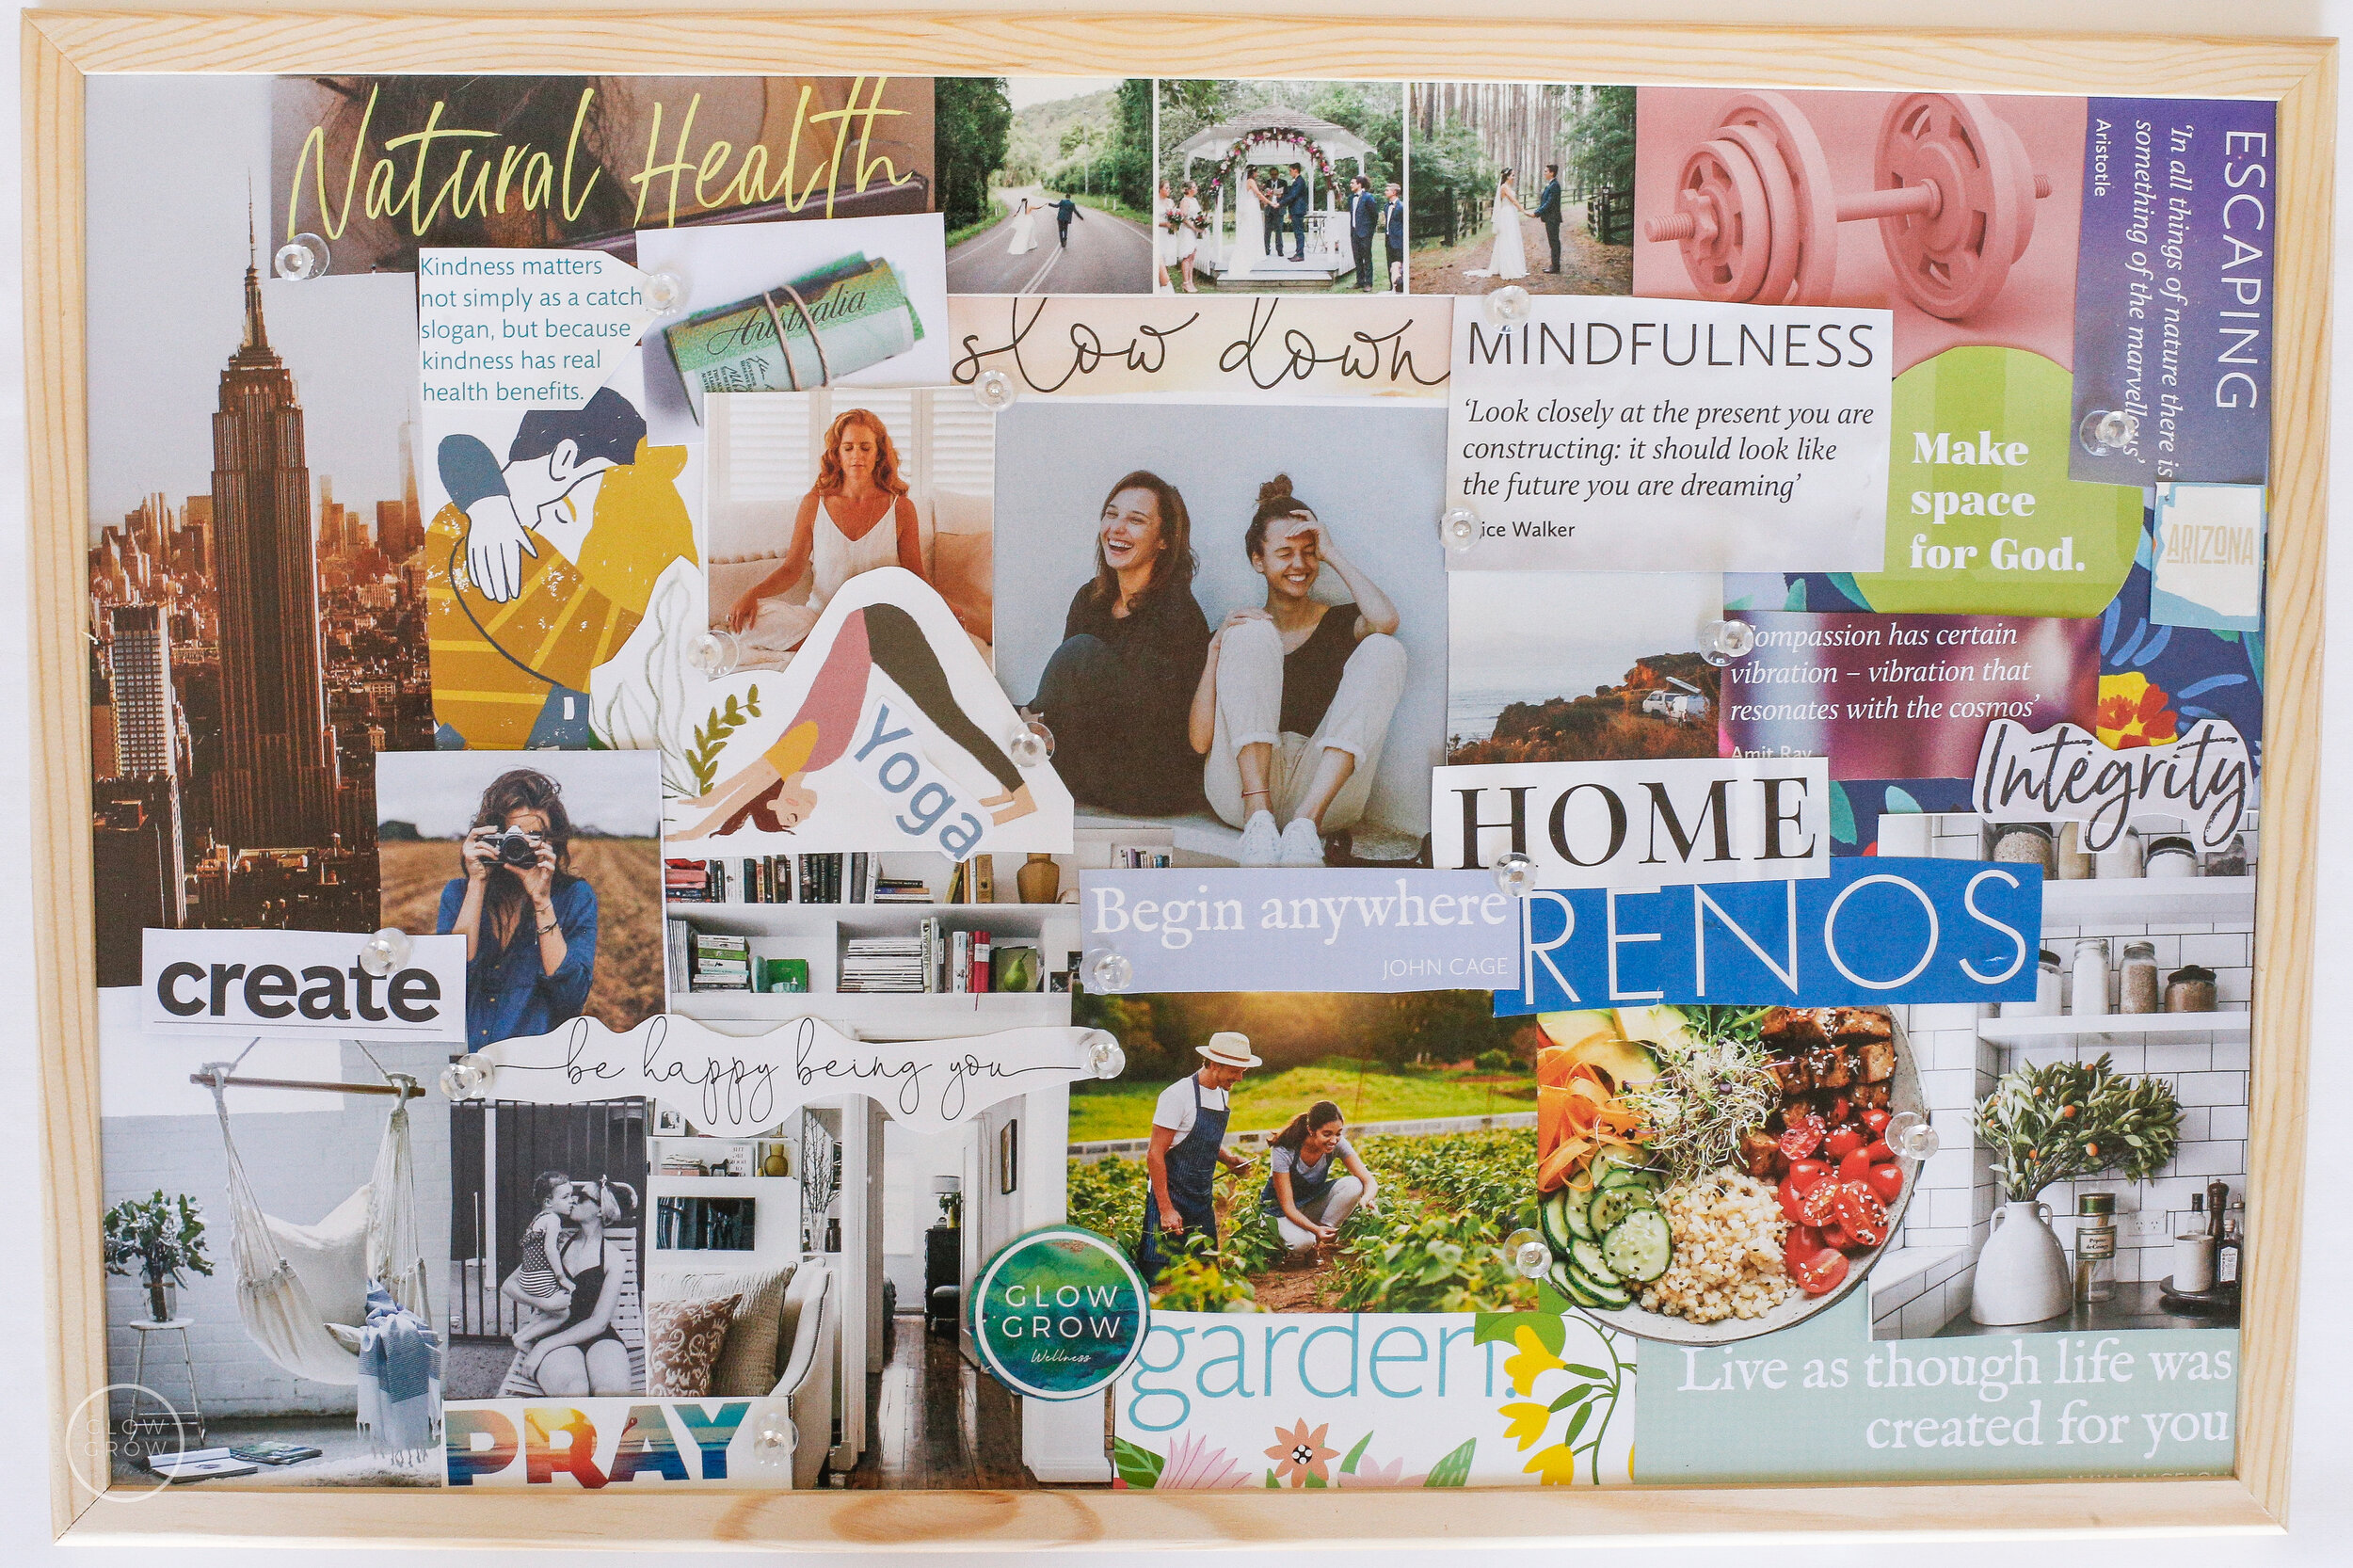
Once you have collected your images of inspiration, begin your collage by placing your cuttings onto your pinboard. You can choose to overlap and make certain words or phrases on top really pop or you can keep space and distance across your board - the choice is yours.
Once you’ve decided on your layout, start to pin/glue your images down. Use your sharpie and paper to highlight key words or even create a title for your board. Use the pegs and twine to hang any extra images of inspiration across the front of your board.
If this is a yearly exercise for you, you may like to leave blank space on your board for goals and visions that change over time.

4
Finally, place your completed vision board in a spot where you will look at it each day. This is the most integral part of this process. Without the element of coming back to your goals each day it’s simply a one-off craft activity! Choose above your desk, on a wall or even on your fridge.
Looking at your inspiration each day serves as a reminder of your goals and allows you to stay on track daily.
A great tip is to take a photo of your board and set it as your desktop or computer/phone home screen like I did in the image to the right!
Most of all, have fun and enjoy the process!
Kelly x